(1).svg)
 (1).png)


 (1).svg)
.svg)
Odoo defines a user as an individual who possesses access to an Odoo database. Administrators have the flexibility to add as many users as required by the company, and robust rules can be applied to each user to meticulously control the type of information they can access. User accounts and their associated access rights can be easily added, modified, or deactivated at any point, ensuring adaptability to evolving business needs.
Add Individual Users
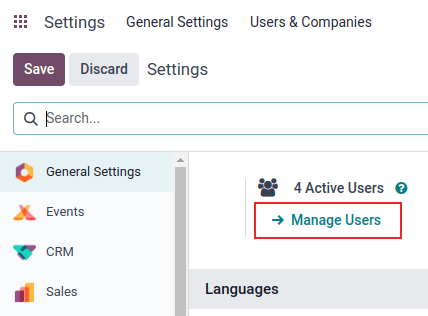
To integrate new users into your Odoo instance, navigate to Settings > Users & Companies > Users, and then click on the New button.
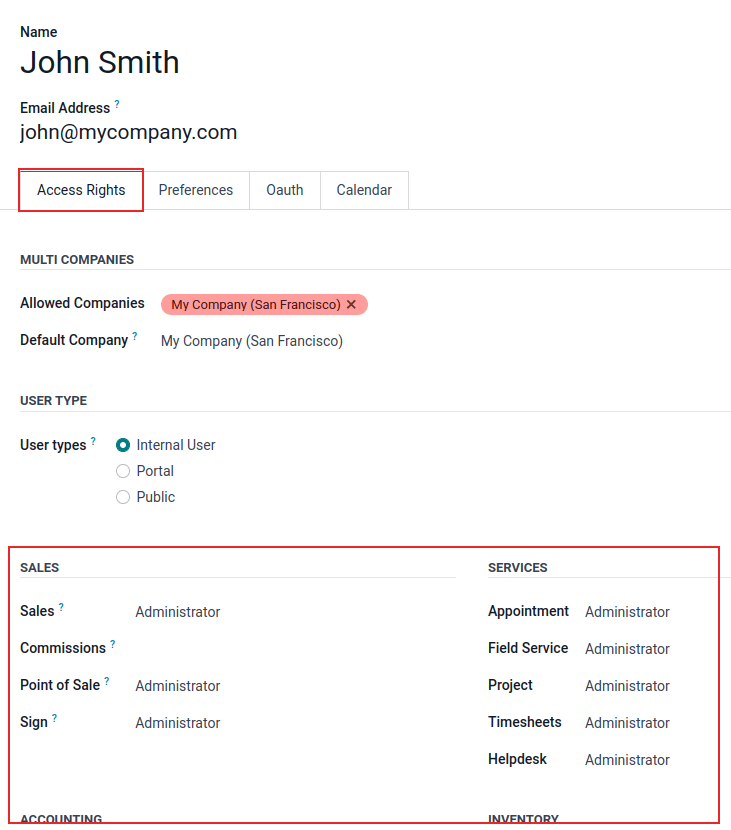
Proceed to complete the form with all the necessary details for the new user. Within the Access Rights tab, you will need to assign the appropriate group for the user within each installed application. This granular control ensures that each user has precisely the permissions required for their role.
The selection of applications displayed is dynamically based on the applications currently installed within your Odoo database, providing a tailored configuration experience.
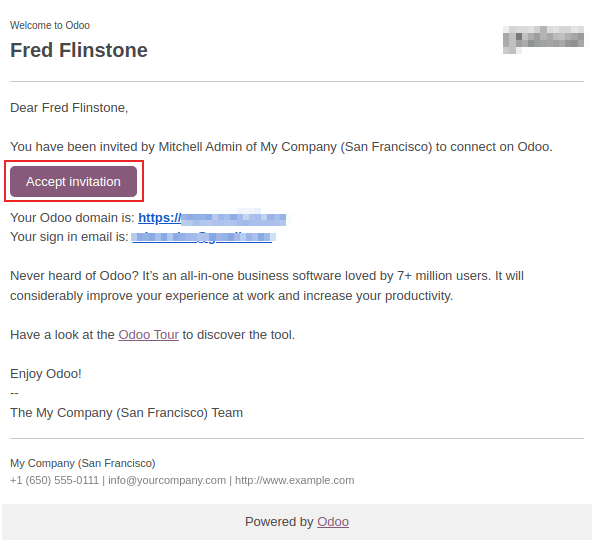
Once all the essential fields on the page have been accurately populated, manually save the new user record. An invitation email will be automatically dispatched to the email address provided in the "Email Address" field. The new user must click on the unique link embedded within this email to accept the invitation and establish their database login credentials.
Warning
If your company operates on a monthly subscription plan, the database will automatically update to reflect the newly added users. However, if your company is on a yearly or multi-year plan, an expiration banner will appear within the database. An upsell quotation can be generated by clicking this banner to facilitate the update of your subscription. Alternatively, you may choose to send a support ticket to Odoo's team for assistance in resolving the issue.
User Type
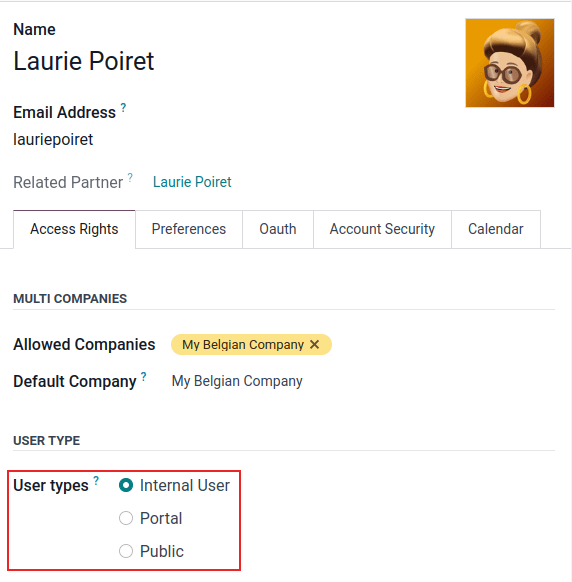
The User Type can be precisely selected from the Access Rights tab within the user form. This tab is typically accessed by navigating to Settings > Users & Companies > Users and then selecting a specific user.
Odoo categorizes users into three distinct types: Internal User, Portal, and Public. Each type is designed to cater to different levels of access and interaction with the database.
Tip
Internal Users are considered standard database users who have full access to the Odoo backend based on their assigned access rights. Portal Users, on the other hand, are external users granted limited access exclusively to the database portal, primarily for viewing specific records. For more detailed information, please refer to the documentation on Portal access.
Public users encompass individuals who are browsing your website via its frontend interface, typically without requiring any login credentials.
It is important to note that the Portal and Public user options do not provide administrators with the ability to manually select access rights. These user types come with specific, pre-set access rights (such as particular record rules and restricted menus) and generally do not belong to the standard Odoo user groups, ensuring a secure and controlled external interaction.
Deactivate Users
To deactivate (or archive) an existing user, which effectively revokes their access without permanently deleting their record, navigate to Settings > Users & Companies > Users. From the list, tick the checkbox located to the left of the user(s) you wish to deactivate.
After carefully selecting the appropriate user(s) to be archived, click on the ⚙️ Actions icon. From the resulting drop-down menu, choose the Archive option. A Confirmation pop-up window will then appear; click OK to finalize the deactivation process.
Danger
Never deactivate the main administrator user (often labeled "admin"). Making any changes to administrator user accounts, especially deactivation, can have a severely detrimental impact on your database's integrity and functionality. This includes the risk of creating an impotent admin scenario, where no user in the database retains the necessary permissions to modify access rights. For these critical reasons, Odoo strongly recommends contacting an Odoo Business Analyst or our dedicated Support Team before attempting any changes to administrator accounts.
Error: Too Many Users
Should the number of active users within an Odoo database exceed the provisioned limit stipulated in your Odoo Enterprise subscription, the following message will be prominently displayed:

Upon the appearance of this message, the database administrator is granted a 30-day grace period to take corrective action before the database is scheduled to expire. A countdown timer, updated daily, will indicate the remaining time.
To successfully resolve this issue, you have two primary options:
- Add More Users to Your Subscription: Click the "Upgrade your subscription" link displayed within the message. This action will allow you to validate the upsell quotation and securely pay for the additional user licenses required.
- Deactivate Users: Alternatively, you can deactivate existing users to bring the total count within your subscription limit. Following this, you can then reject the upsell quotation if it was generated.
Warning
As previously mentioned, for companies on a monthly subscription plan, the database will automatically adjust to reflect any added users. However, for those on a yearly or multi-year plan, an expiration banner will appear. You can generate an upsell quotation by clicking this banner to update your subscription, or you may send a support ticket for further assistance.
Once the database accurately reflects the correct number of users in alignment with your subscription, the expiration message will automatically disappear after a few days, following the next scheduled verification cycle.
Password Management
Effective password management is a crucial component of granting users autonomous and secure access to the database at all times. Odoo provides several distinct methods to facilitate the resetting of a user's password, ensuring flexibility and security for both users and administrators.
Tip
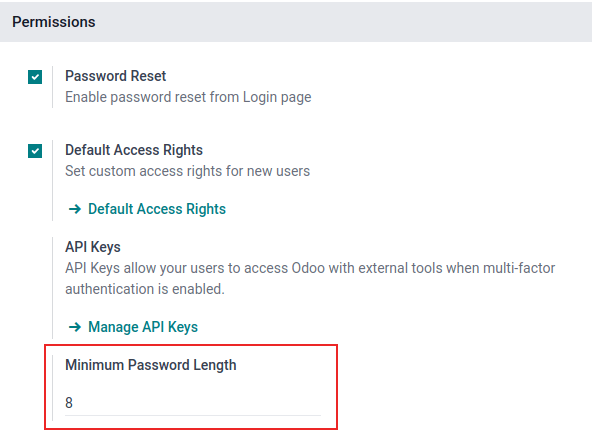
Odoo includes a configurable setting to specify the minimum required length for user passwords. This security setting can be accessed by navigating to Settings > General Settings > Permissions section, where you can enter your desired password length in the "Minimum Password Length" field. By default, this value is set to 8 characters, but it can be adjusted to meet your organization's security policies.
Reset Password
Users may occasionally wish to reset their personal password for enhanced security, ensuring they are the sole individuals with knowledge of their credentials. Odoo offers two primary reset options: one that can be initiated directly by the user, and another where the administrator triggers the password reset process.
Enable Password Reset from Login Page
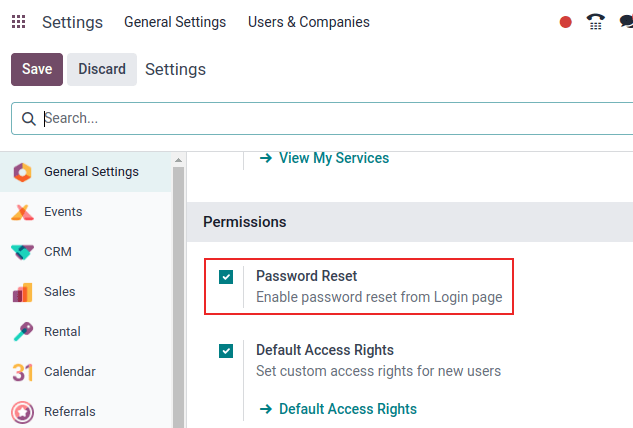
The functionality to enable or disable password resets directly from the Odoo login page is available. This action is typically completed by the individual user and is enabled by default for convenience and self-service.
To modify this setting, navigate to the Settings > General Settings > Permissions section, activate the Password Reset option, and then click Save to apply the changes.
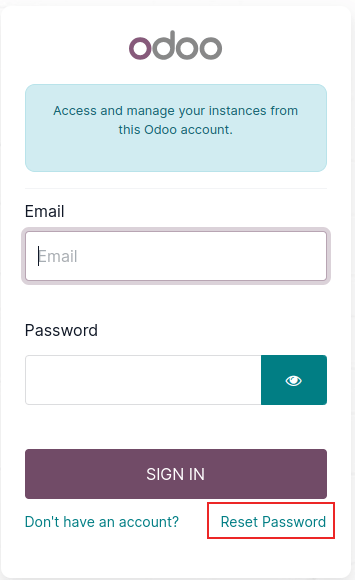
On the Odoo login page, users can click the Reset Password link to initiate the password reset process. This action will trigger the sending of a reset token to the email address associated with their account, guiding them through the steps to create a new password.
Send Reset Instructions
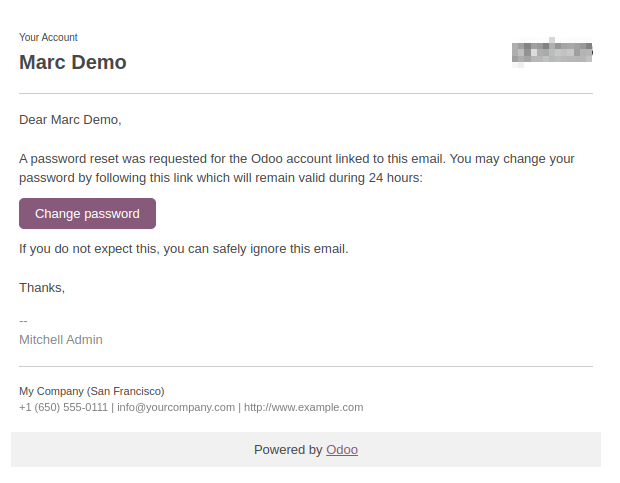
Administrators can also initiate a password reset for a specific user. To do this, navigate to Settings > Users & Companies > Users, select the desired user from the list, and then click on the Send Password Reset Instructions button located on their user form. An email containing comprehensive password reset instructions will be automatically sent to the user.
Note
The Send Password Reset Instructions button will only be visible and active if the initial Odoo invitation email has already been confirmed by the user. If the invitation has not yet been accepted, a "Re-send Invitation Email" button will appear instead.
This automated email contains all the necessary instructions for resetting the password, along with a secure link that redirects the user to an Odoo login page to complete the process.
Change User Password
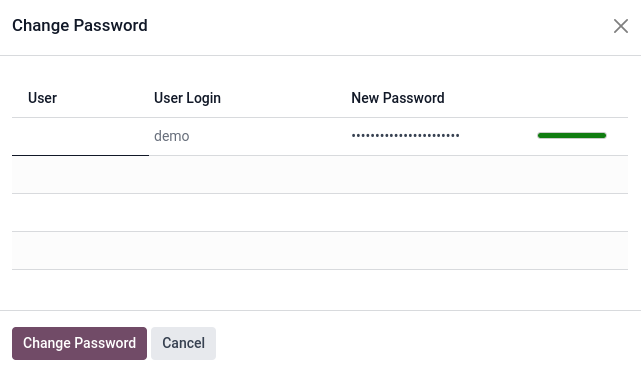
To manually change a user's password from the administrative interface, go to Settings > Users & Companies > Users, and select the specific user to access their detailed form. Click on the ⚙️ Actions icon, and then select Change Password from the resulting drop-down menu. In the "Change Password" pop-up window that appears, enter a new password in the "New Password" column and confirm the change by clicking Change Password.
Note
This operation exclusively modifies the password for the user within the local Odoo database and does not impact their associated odoo.com account credentials. If the odoo.com password requires alteration, users should utilize the send password reset instructions method. Odoo.com passwords grant access to the "My Databases" page and other portal features managed directly by Odoo's online services.
After successfully clicking "Change Password," the page will redirect to an Odoo login screen, where the database can be re-accessed using the newly established password.
Multi-Company Access for Users
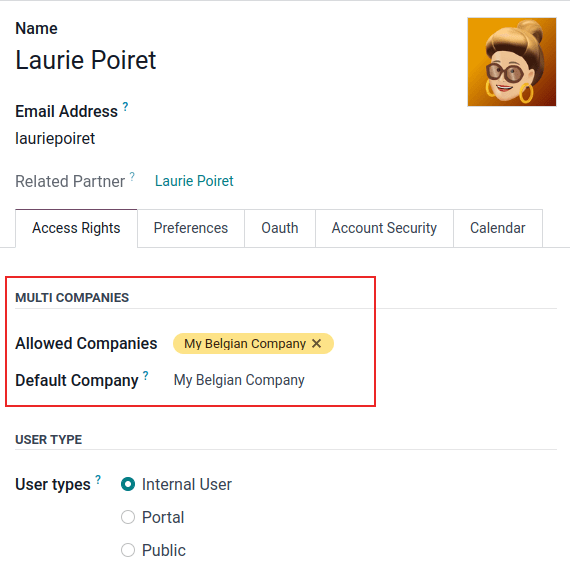
The "Multi Companies" field on a user's form is a powerful feature that allows an administrator to grant specific users access to operate across multiple companies within the same Odoo instance. To configure a multi-company environment for a particular user, navigate to the desired user's record by going to Settings > Users & Companies > Users. Then, select the user to open their user form and proceed with configuring their multi-company access.
Under the Multi Companies section within the Access Rights tab, you will set the fields labeled "Allowed Companies" and "Default Company."
The Allowed Companies field permits the inclusion of multiple companies. These are the specific companies that the user will be able to access and edit, always in accordance with their assigned access rights. The Default Company field, conversely, can only contain a single company. This is the company to which the user will automatically default upon logging into the Odoo system each time.
Warning
Improper configuration of multi-company access can lead to inconsistent and undesirable multi-company behaviors. Due to the complexity and potential impact, it is strongly recommended that only experienced Odoo users or system administrators make changes to user access rights within databases configured for multi-company operations. For in-depth technical explanations and best practices, developers can refer to the developer documentation on Multi-company Guidelines.