 (1).svg)
 (1).png)


 (1).svg)
.svg)
Essential Steps for WordPress Installation with Softaculous
This tutorial will guide you through the process of installing a WordPress website on your cPanel web hosting account using the integrated Softaculous auto-installer.
- Log into cPanel, navigate to Softaculous, and click the WordPress icon.
- Proceed by clicking the blue "Install" button.
- Carefully fill in all required details on the installation screen.
- Finally, specify an email address to receive installation details and click "Install".
Initiating the WordPress Installation
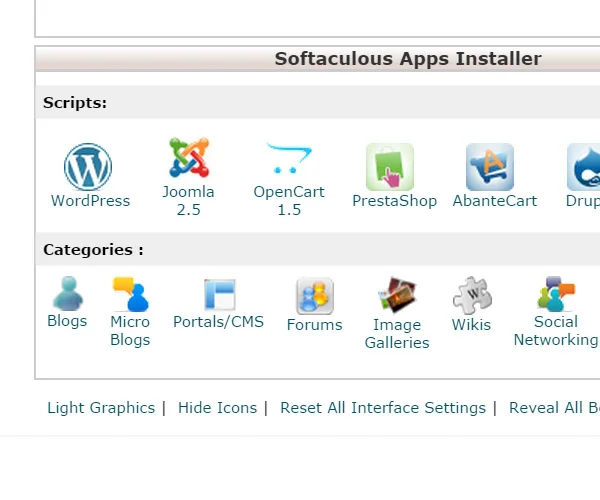
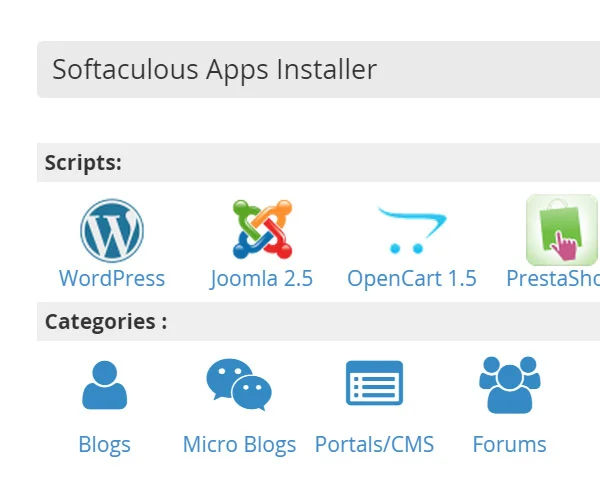
To begin, log in to your cPanel account. Once logged in, locate the Softaculous installer, typically found within the "Software" section. Click on the WordPress icon to proceed with the installation process. You will see different themes depending on your cPanel version, as shown below:
cPanel X3 theme:
Paper Lantern theme:
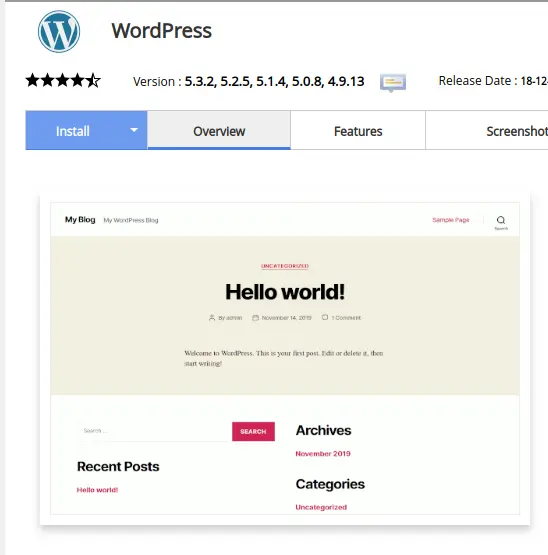
Upon clicking the WordPress icon, you will be directed to the Softaculous WordPress installer interface. The subsequent step involves clicking the prominent blue "Install" button to initiate the setup.
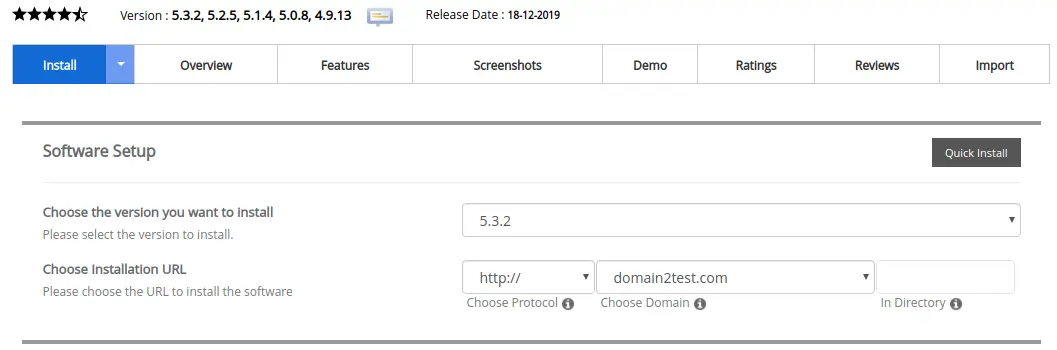
Configuring Your WordPress Installation
Domain and Directory Selection
At this stage, you will be presented with several configuration options. You can select the domain where you wish to install WordPress, especially if you manage multiple domains on your account. Additionally, you will define the installation directory. If you prefer WordPress to reside within a sub-directory, such as 'blog' or 'website', simply enter your desired directory name in the designated field. For instance, entering 'blog' would make your site accessible at http://yourdomain.com/blog. Conversely, if you intend for WordPress to be the primary content on your main domain, ensure the directory field is left empty. This will install WordPress directly into the root of your chosen domain.
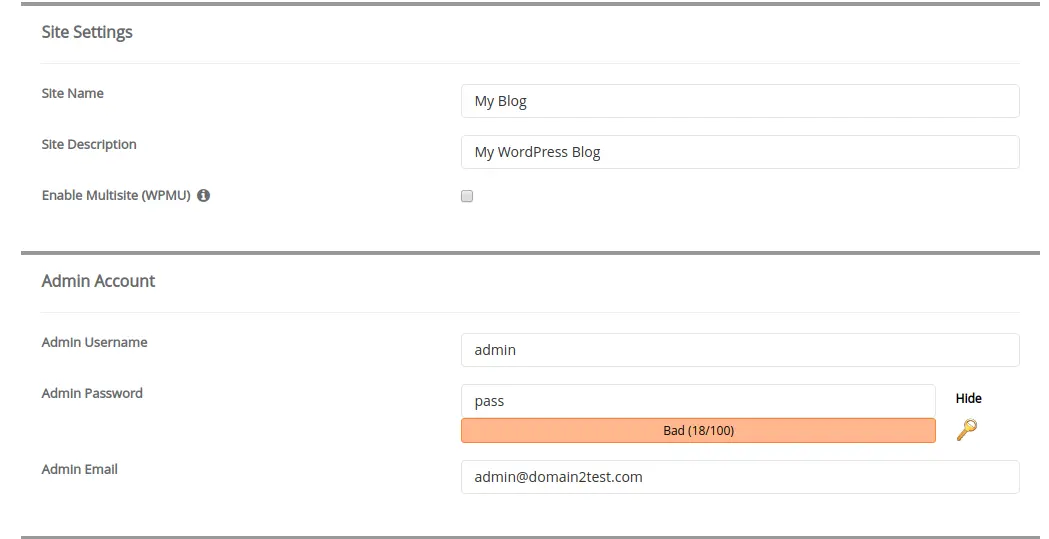
Setting Up Secure Credentials
Beyond the basic installation parameters, there are critical settings related to site security that we strongly advise adjusting from their default values:
-
Administrative Username:
It is imperative to choose a robust and unique username that cannot be easily guessed. Common default usernames, such as 'admin', are frequently targeted by malicious entities. By selecting a distinct username, you significantly reduce the risk of unauthorized access, as potential attackers would then need to guess both your username and password.
-
Secure Password:
Equally important is the creation of a strong password. We recommend incorporating a combination of uppercase letters, lowercase letters, numbers, and special characters. A password length of at least 10 to 15 characters is highly recommended to enhance the overall security of your WordPress installation.
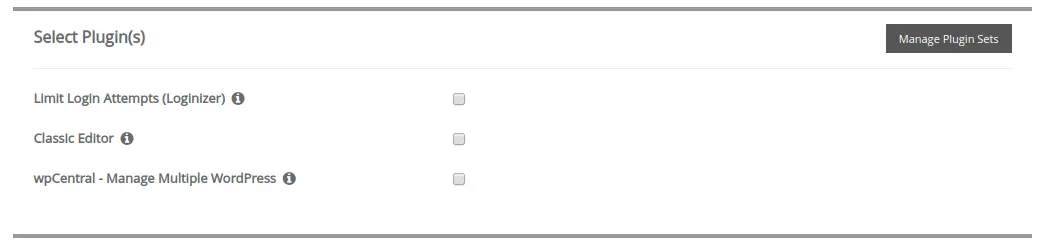
Enhancing Your Installation with Optional Plugins
The Softaculous installer also provides the convenience of pre-installing optional plugins alongside your new WordPress site. We highly recommend considering the "Limit Login Attempts" plugin. By default, this plugin is not selected, so you will need to check the corresponding checkbox to include it in your installation. This valuable security plugin helps mitigate brute-force attacks by blocking further login attempts from an IP address after a specified number of failed login attempts. Additionally, if you prefer the traditional WordPress editing experience over the newer Gutenberg editor, you have the option to install the "Classic Editor" plugin at this stage.
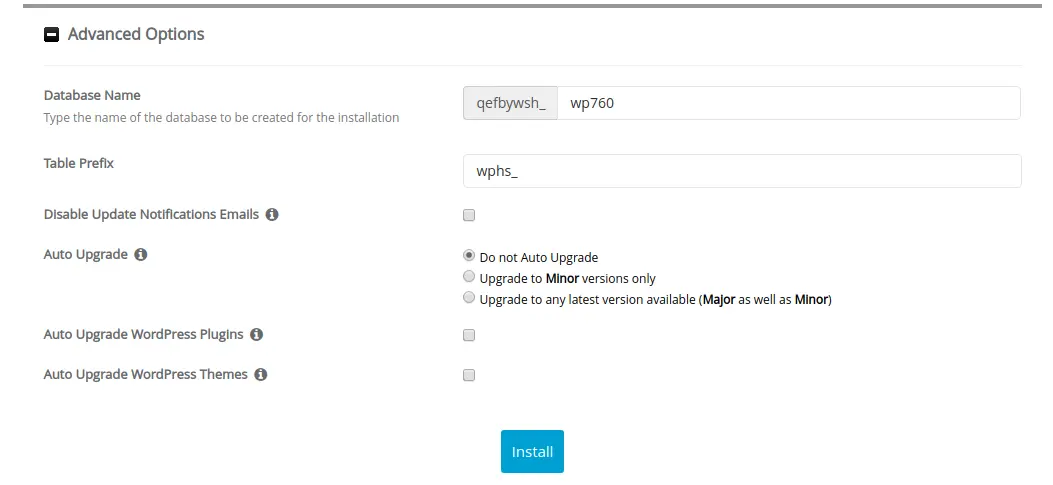
Advanced Configuration Options for Security
Further customization and security enhancements are available under the "Advanced Options" tab.
-
Database Name Customization:
The installer typically generates a random database name, often prefixed with your cPanel username, for your WordPress installation. While you have the flexibility to modify this name, for enhanced security, it is advisable to retain or choose a complex, randomized database name rather than an easily memorable one. This practice adds an additional layer of protection to your site's data.
-
Database Table Prefix Modification:
Another crucial security measure is to change the default database table prefix (e.g., 'wp_'). We recommend opting for a randomized and unique prefix, such as '_wp3he6_', to make it more difficult for automated scripts to target your database. It is important to remember that modifying the table prefix is just one step in a comprehensive WordPress security strategy, which involves multiple layers of protection.
-
Backup and Upgrade Preferences:
Additional preferences, such as enabling automatic backups or automated software upgrades, are also available. If you choose to enable automatic backups, be aware that these will consume a portion of your allocated storage space. For optimal data security and to prevent potential issues with server-side backup processes, it is strongly advised to regularly download any generated backups from your hosting account to your local computer.
Completing the WordPress Installation
To finalize the installation, you have the choice to select and install an additional WordPress theme, beyond the default theme that is automatically included. Before proceeding, you can also provide an email address in the designated field beneath the install button. This will ensure that all essential installation details, including your WordPress login credentials, are sent directly to your inbox. For security best practices, if you utilize this email option, it is highly recommended to change your WordPress password immediately after your first successful login.
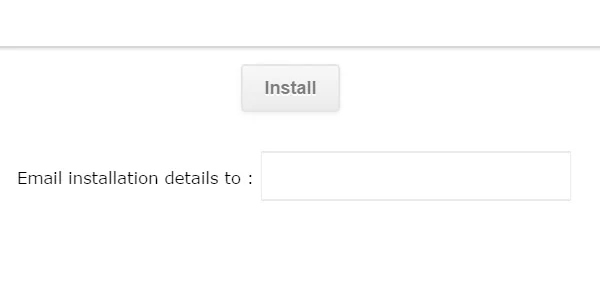
Once you click the "Install" button, the Softaculous installer will commence the setup process for your WordPress website. In a short time, your installation will be complete, and you will then be able to navigate to your domain and access your newly launched WordPress site.
