
 (1).svg)
 (1).png)


 (1).svg)
.svg)
The LiteSpeed Cache plugin stands out as an exceptional tool for significantly boosting the performance of your WordPress website. While its name primarily highlights caching, this plugin is, in fact, a comprehensive performance solution, offering capabilities comparable to other top-tier optimization plugins. It’s important to note that despite its name, the LiteSpeed Cache plugin can be utilized effectively with nearly any web server. Most of its features operate universally, with the exception of the advanced page caching functionality, which requires a LiteSpeed Web Server environment to deliver its full potential. This article will provide an in-depth exploration of the optimal LiteSpeed Cache settings designed to accelerate your WordPress site, ensuring a faster, more responsive user experience.
For those operating on a LiteSpeed Web Server, you will unlock the complete suite of features and maximize the plugin's capabilities. However, even if your current hosting environment does not utilize LiteSpeed Web Server, you can still leverage a substantial portion of these powerful settings to achieve considerable performance improvements.
How to Configure LiteSpeed Cache for Optimal WordPress Performance
The LiteSpeed Cache plugin is freely available for download from WordPress.org, making its installation as straightforward as any other WordPress plugin. Once activated, a new LiteSpeed Cache section will appear in your WordPress dashboard. We will systematically navigate through each submenu to outline the most effective configuration strategies, beginning with the fundamental Cache settings. It's crucial to remember that these recommendations serve as an excellent starting point; individual website requirements may vary, so feel free to adjust settings as necessary to best suit your specific needs.
Cache Settings
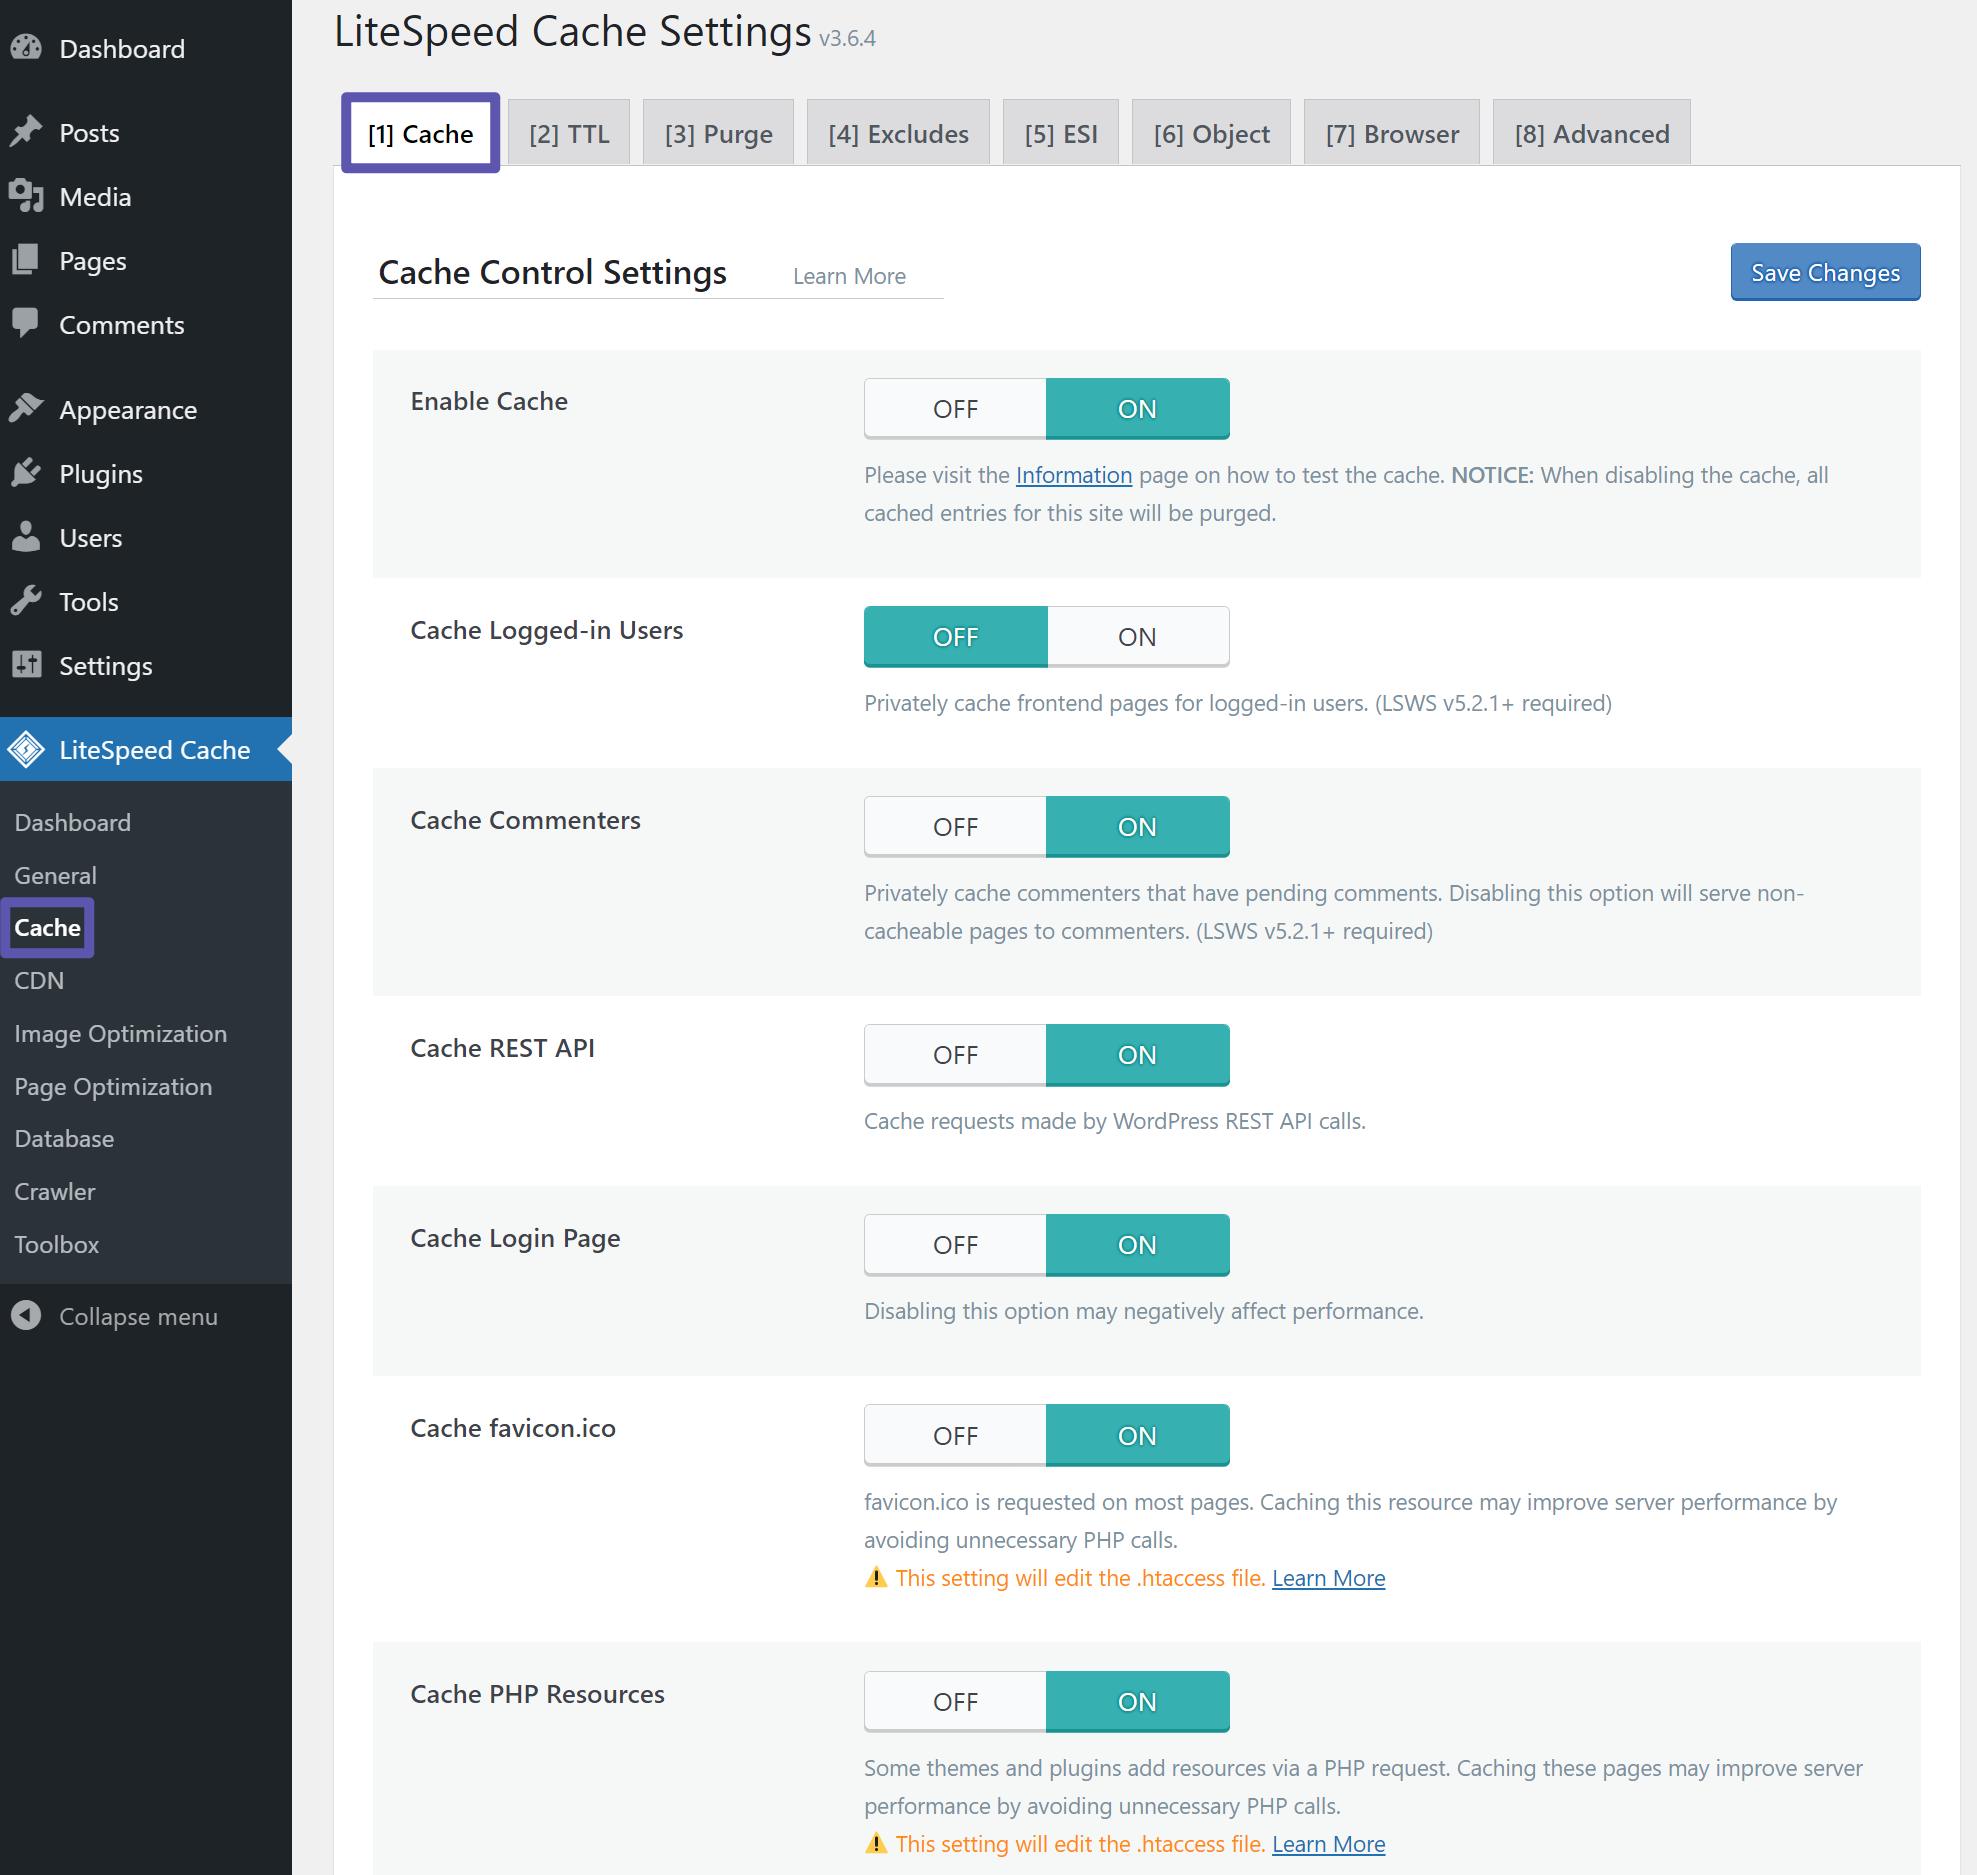
Let's begin our configuration journey within the Cache tab, which, as its name suggests, is dedicated to controlling your site's caching behavior. This section primarily focuses on page caching, but it also provides crucial options for browser caching and object caching, both vital for overall performance.
Enable Cache
Within the main Cache settings, ensure that Enable Cache is set to On. This is the foundational step for activating the plugin's primary caching functions. For the majority of websites, the default settings within this section are typically sufficient and perform optimally.
One default setting you might consider disabling is Cache Logged-in Users. While beneficial for small membership sites or platforms with highly personalized content for individual users, most standard websites will not experience significant advantages from caching content for logged-in users.
If your website implements AMP (Accelerated Mobile Pages) for mobile visitors, or if you feature content specifically tailored for mobile devices (such as a plugin that adds a unique toolbar or call-to-action button exclusively for mobile users), then enabling Cache Mobile can be advantageous. However, it's important to note that standard responsive websites, which adapt their layout fluidly across devices, generally do not require this option.
TTL (Time To Live)
The TTL (Time To Live) tab provides granular control over the duration for which various types of content are cached before being designated as expired. Once the cache expires, a new, updated cached version of the content is generated. For most websites, the default TTL durations are well-balanced and effective. However, if you manage a website that is entirely static and undergoes infrequent changes, you may consider extending these durations to further reduce server load and improve efficiency.

Purge Settings
The Purge tab allows you to define rules for the automatic purging of your website's cache. A best practice for maintaining content freshness is to automatically purge the cache whenever new content is published or existing content is updated. This crucial functionality is enabled by default in LiteSpeed Cache, ensuring that visitors always see the most current version of your site. Most websites will find the default purge settings to be perfectly adequate.

Excludes
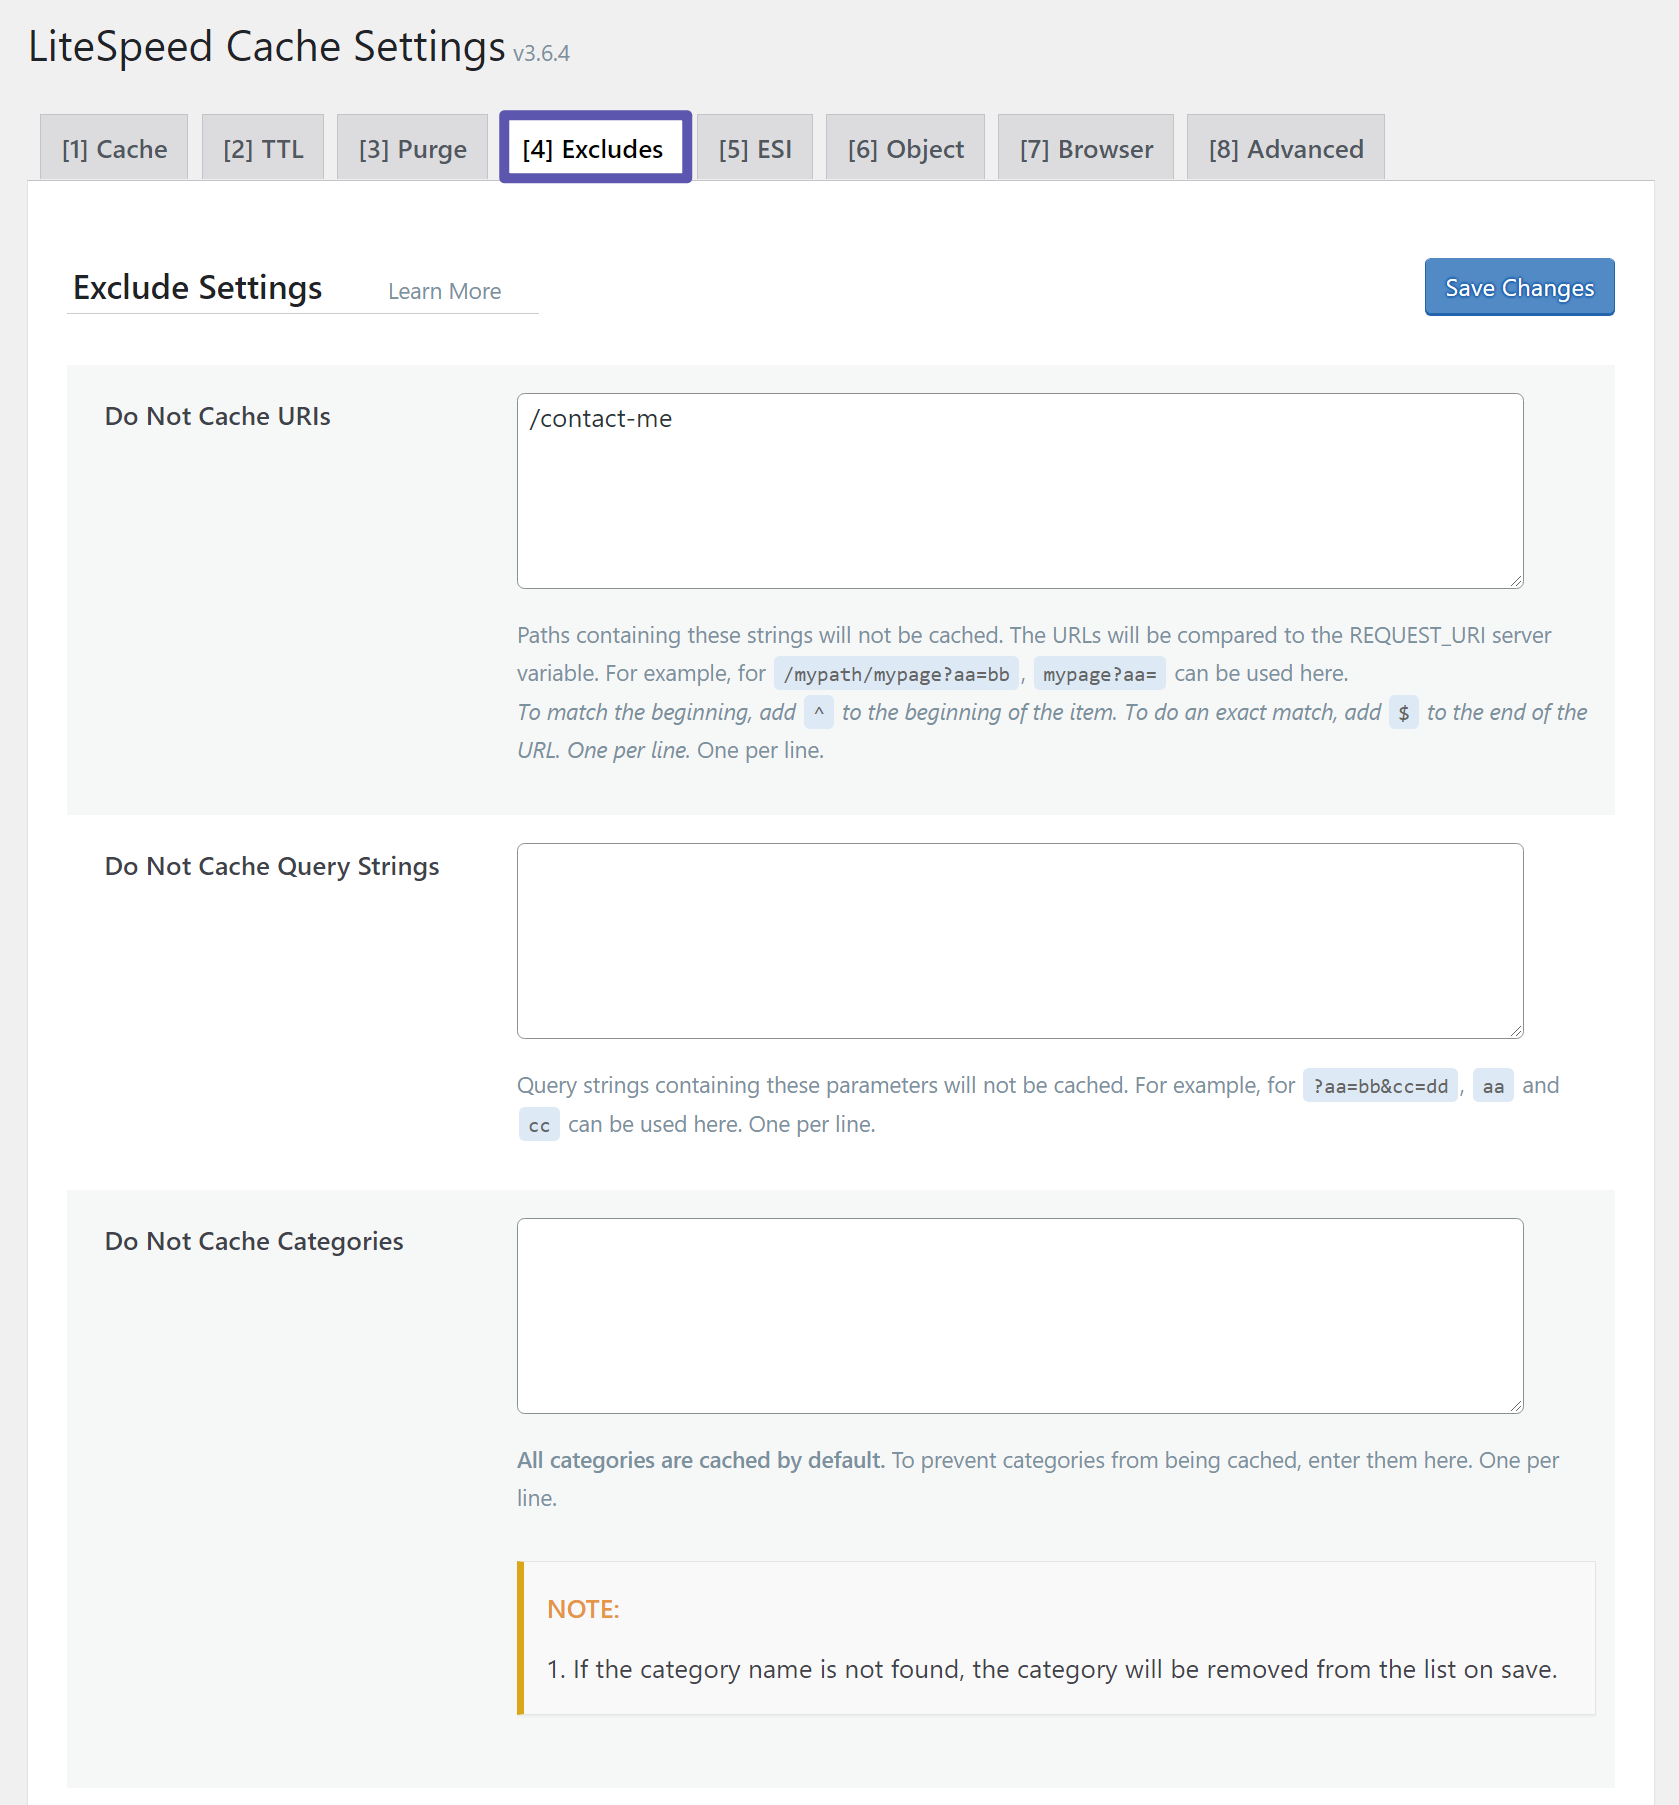
The Excludes tab provides the flexibility to specify certain content, URLs, or types of users that should be prevented from receiving cached content. A common scenario where exclusions are beneficial is with contact forms. Caching can sometimes interfere with the proper functioning of certain form plugins, leading to submission issues. Therefore, it's often advisable to exclude the URLs of pages containing contact forms from being cached. While you can establish other exclusion rules as needed, the majority of websites typically won't require extensive configurations in this area.
ESI (Edge Side Includes)
The ESI tab encompasses highly advanced features related to Edge Side Includes. Unless you possess a thorough understanding of how ESI functions and its implications for your specific website architecture, it is strongly recommended to leave these settings at their default values to avoid potential complications.
Object Cache
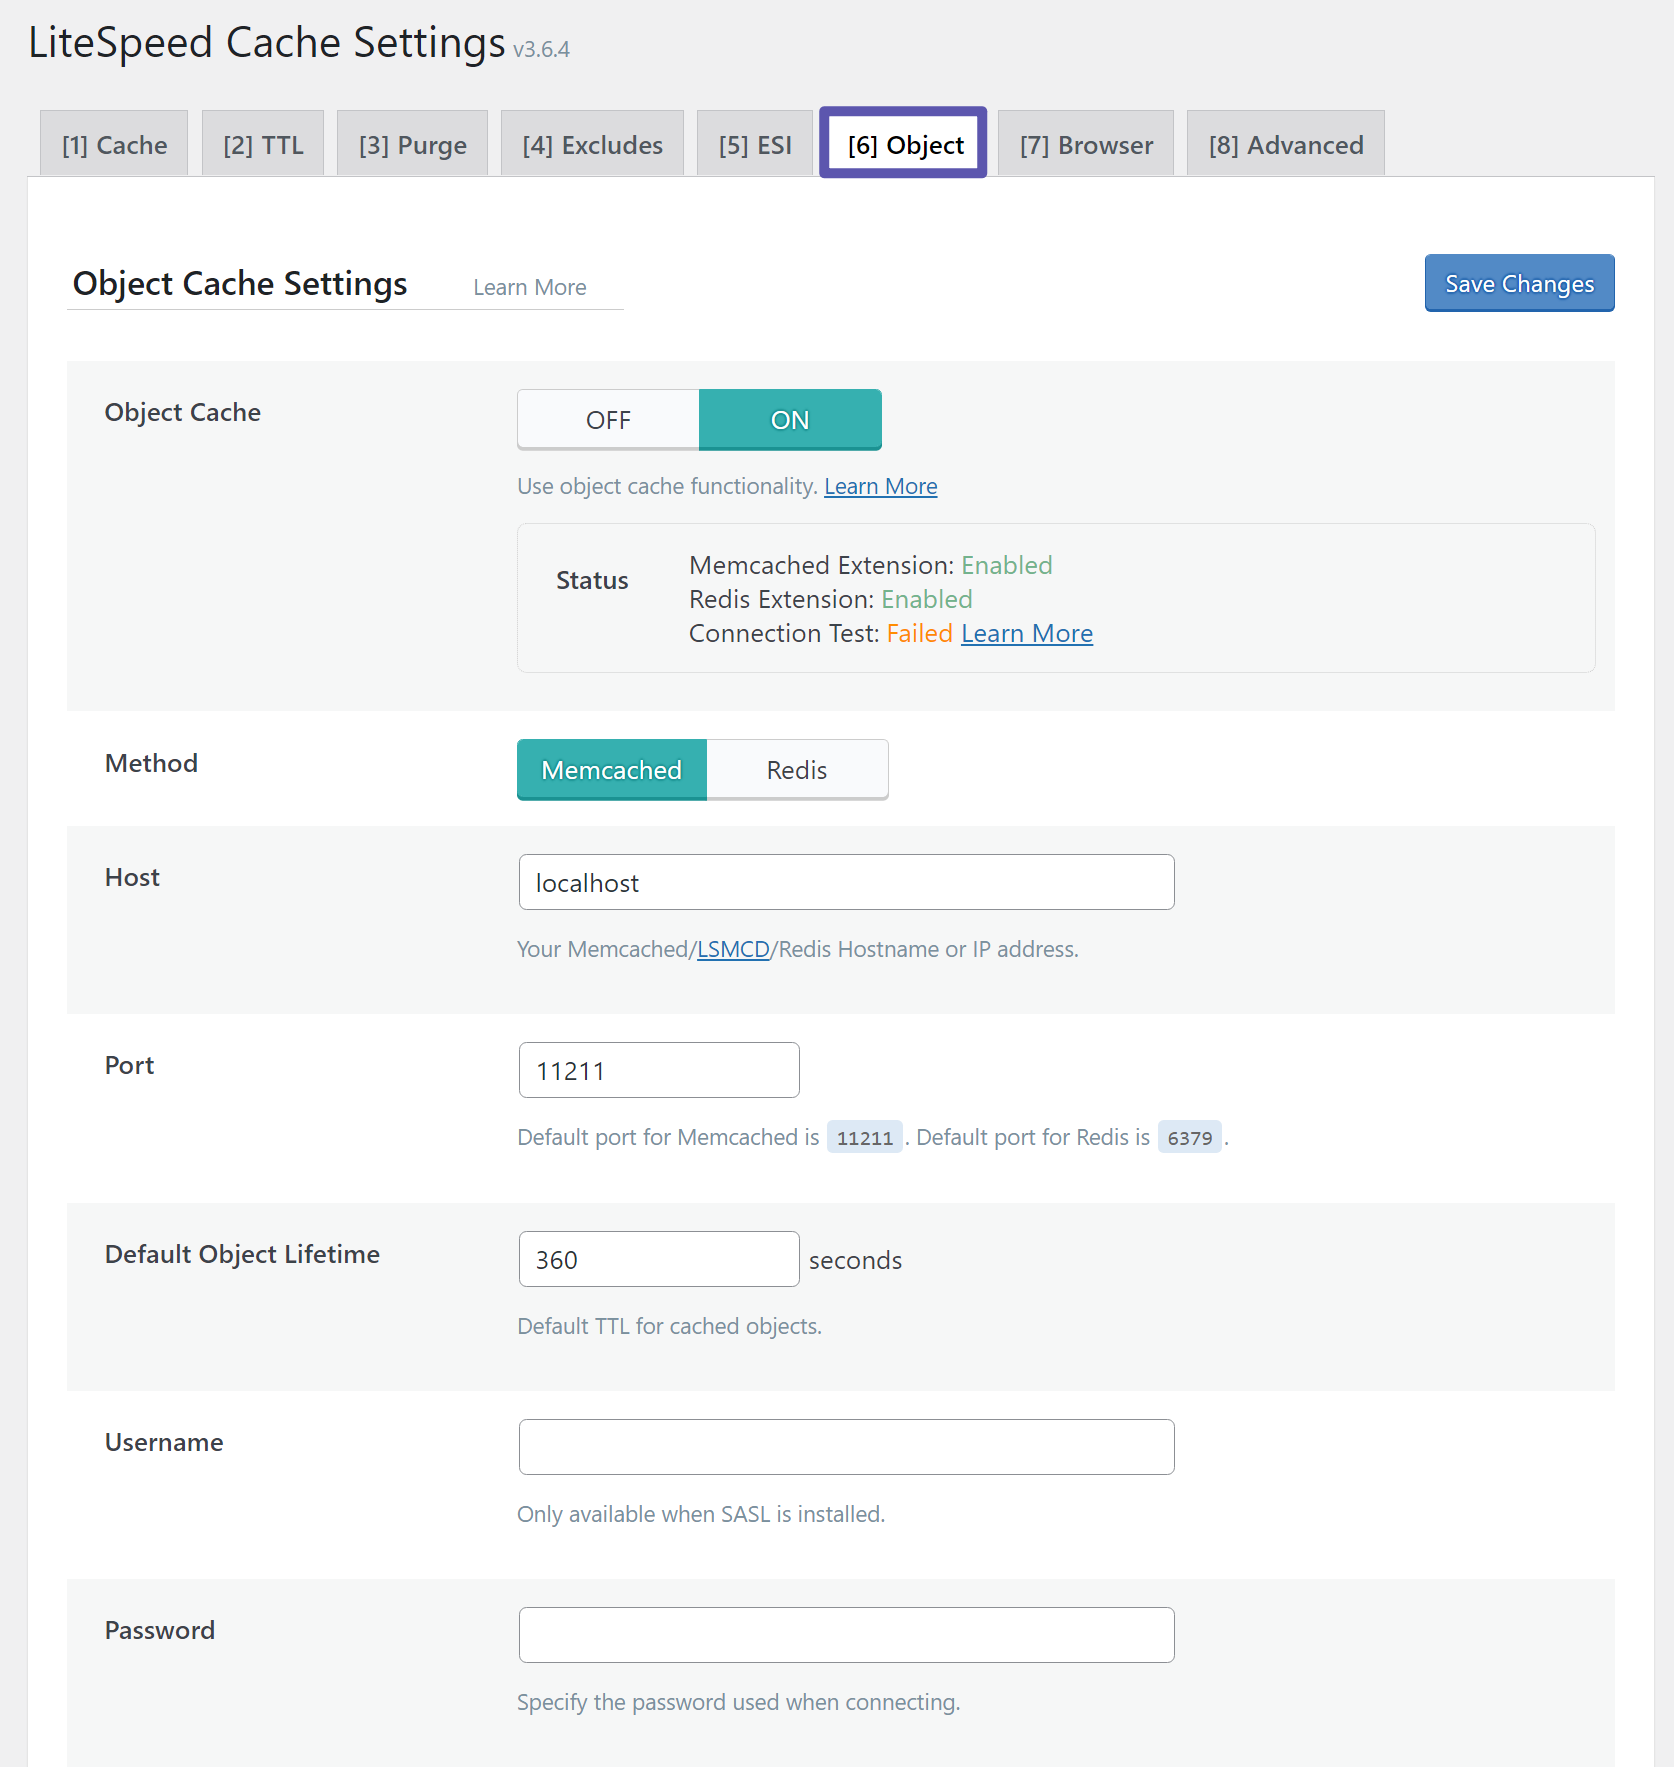
The Object cache tab enables object caching, a sophisticated caching mechanism that stores the results of database queries, such as WordPress site options. This can significantly reduce the load on your database and speed up dynamic content retrieval. However, to leverage object caching, your server must have a dedicated object caching solution installed, such as Memcached or Redis. If your hosting provider supports these technologies, you can activate object caching here. If not, or if you're unsure, it's best to consult with your host's support team or simply bypass this feature.
Browser Cache
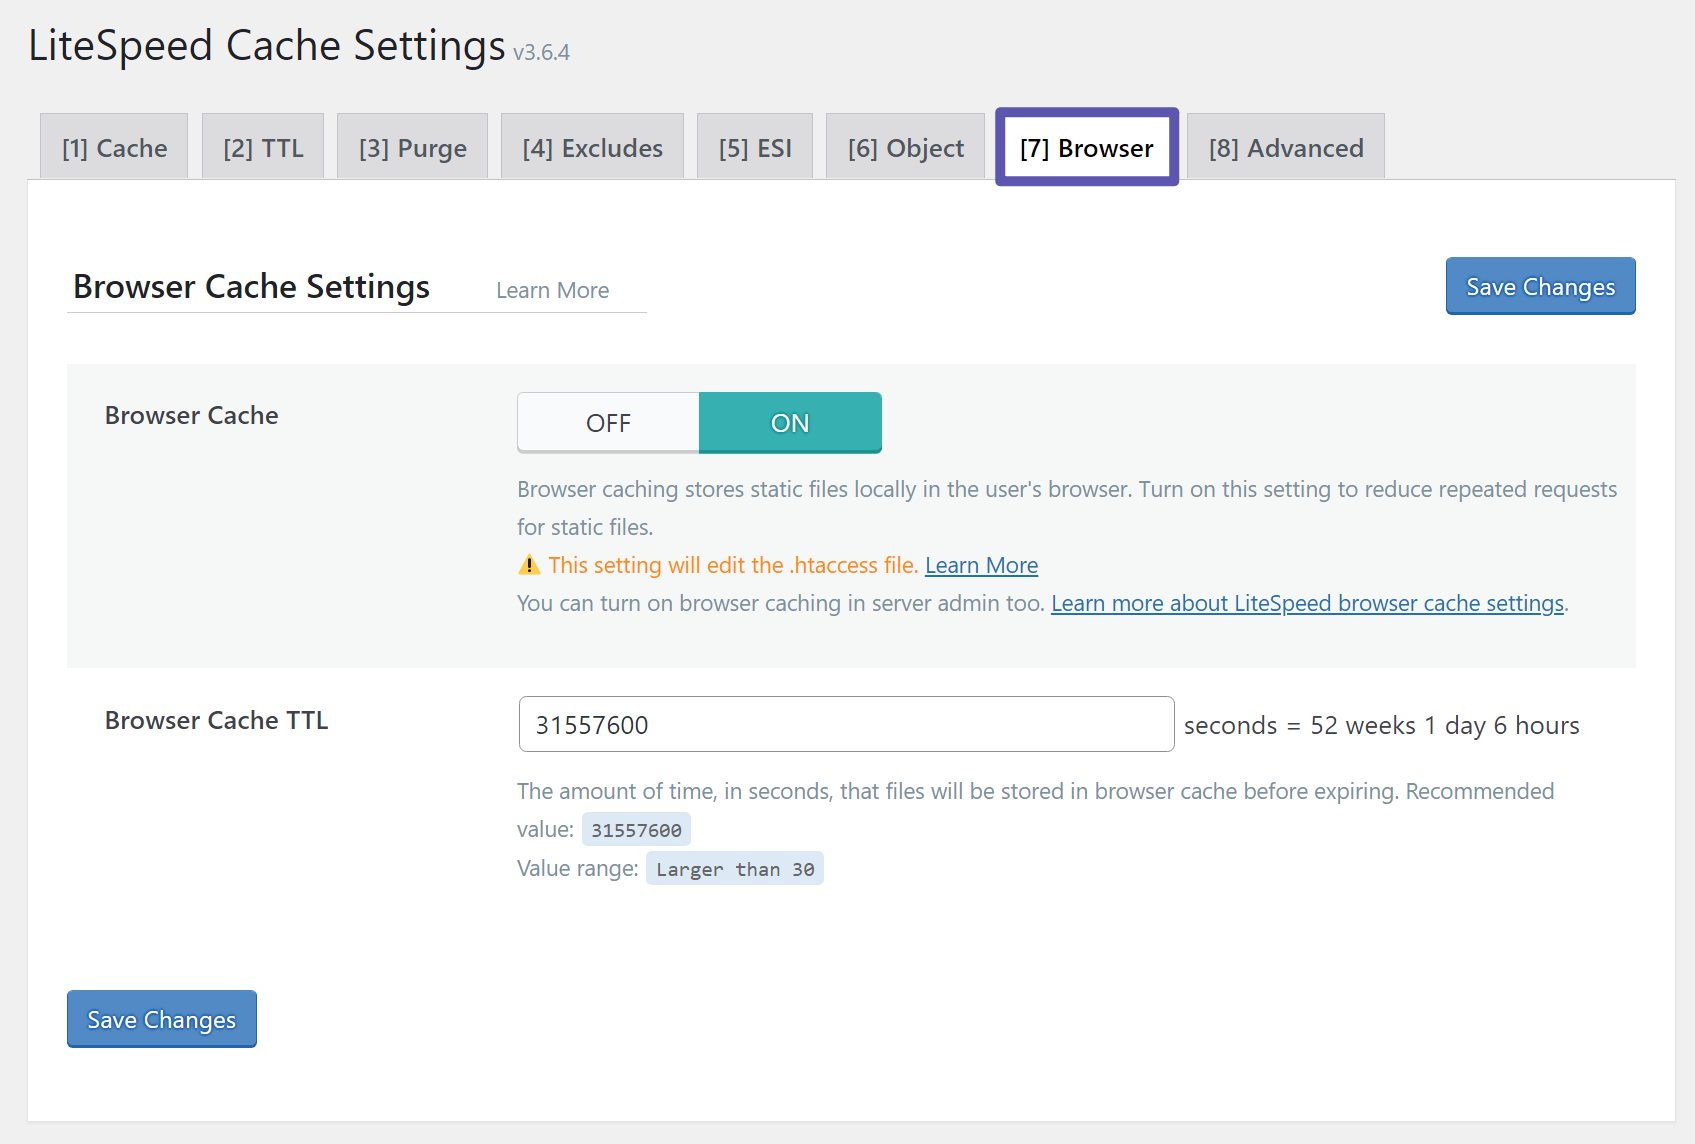
Browser caching is another highly effective form of caching that instructs visitors' web browsers to store static files (like images, CSS, and JavaScript) locally on their devices. This means that upon subsequent visits, the browser can load these resources directly from local storage instead of re-downloading them from the server, resulting in much faster page load times. You should definitively turn this option On in the Browser tab to enhance user experience and reduce server bandwidth.
Advanced Options
The Advanced tab generally contains settings that are not required for most website owners. Unless you have a specific, expert-level reason to modify these configurations, the best course of action is to skip this tab entirely and leave its settings at their defaults.
CDN Configuration
The CDN tab is dedicated to integrating your website with a content delivery network. A CDN significantly improves global load times by serving your content from strategically located servers around the world, closer to your users. LiteSpeed Cache supports both traditional CDNs, where content is served from a subdomain (e.g., cdn.yoursite.com), and reverse proxy CDNs, such as Quic.Cloud or Cloudflare. If you intend to utilize a CDN, this is the appropriate section for its setup and configuration. If you do not plan to use a CDN, you can safely disregard this section.
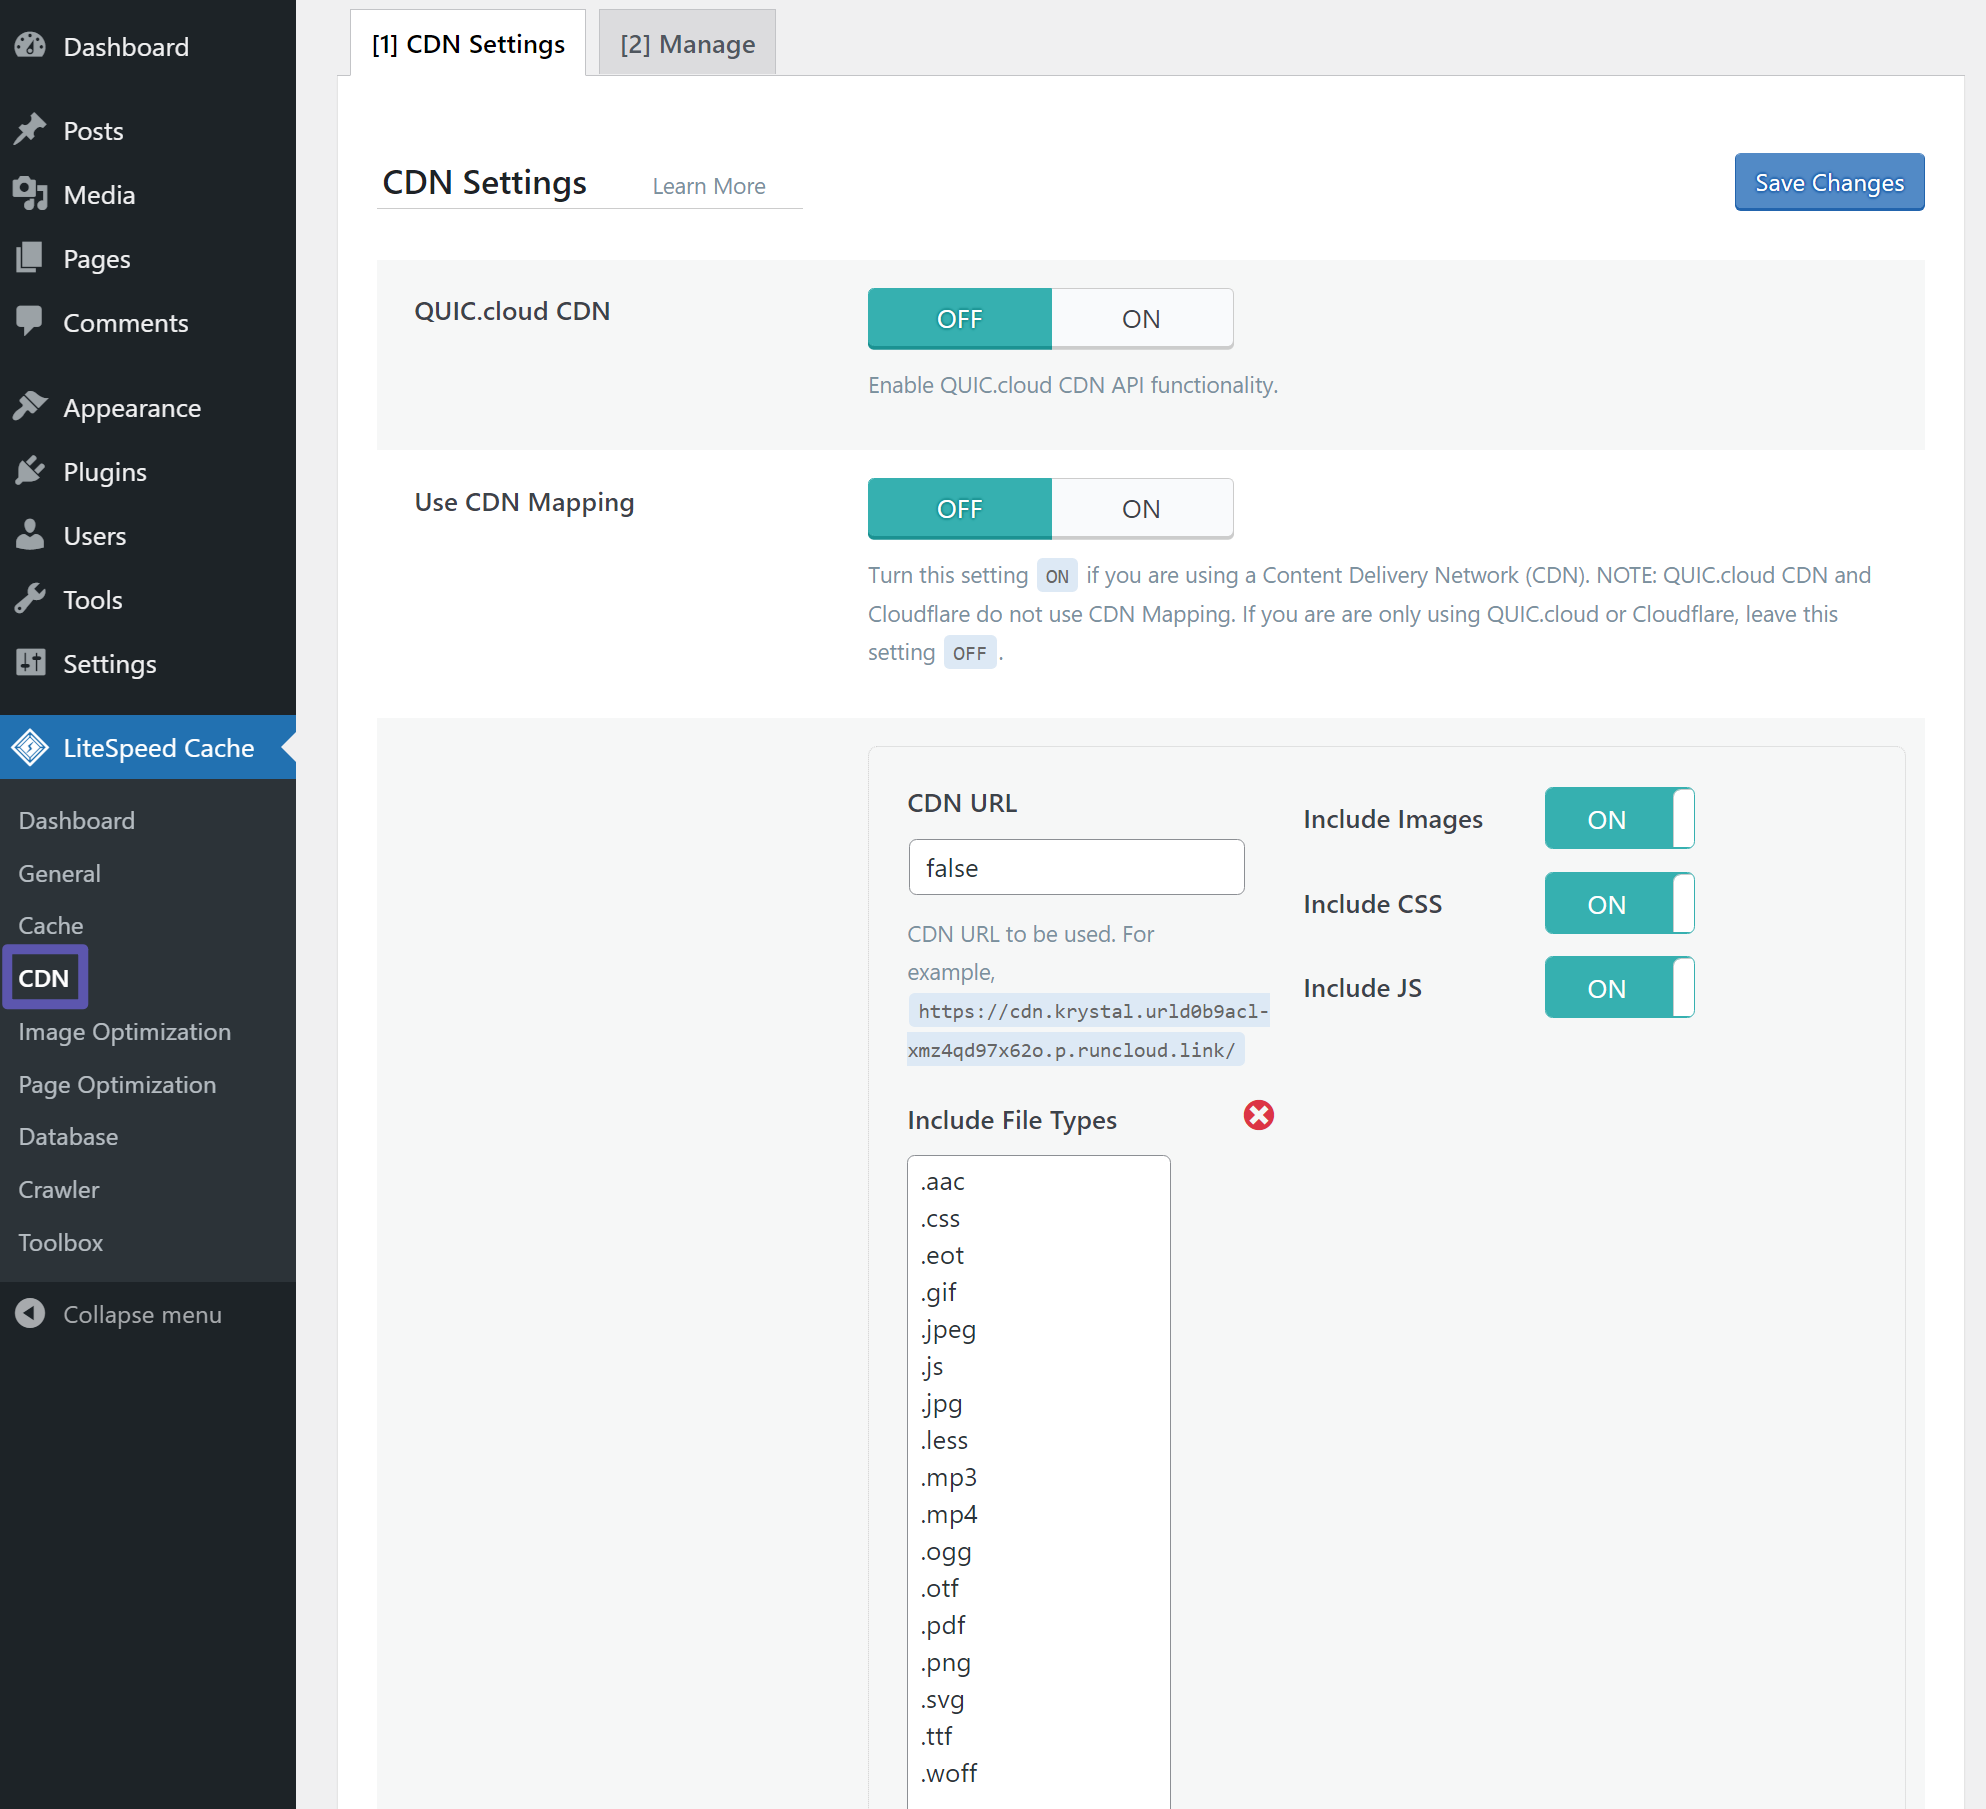
Image Optimization
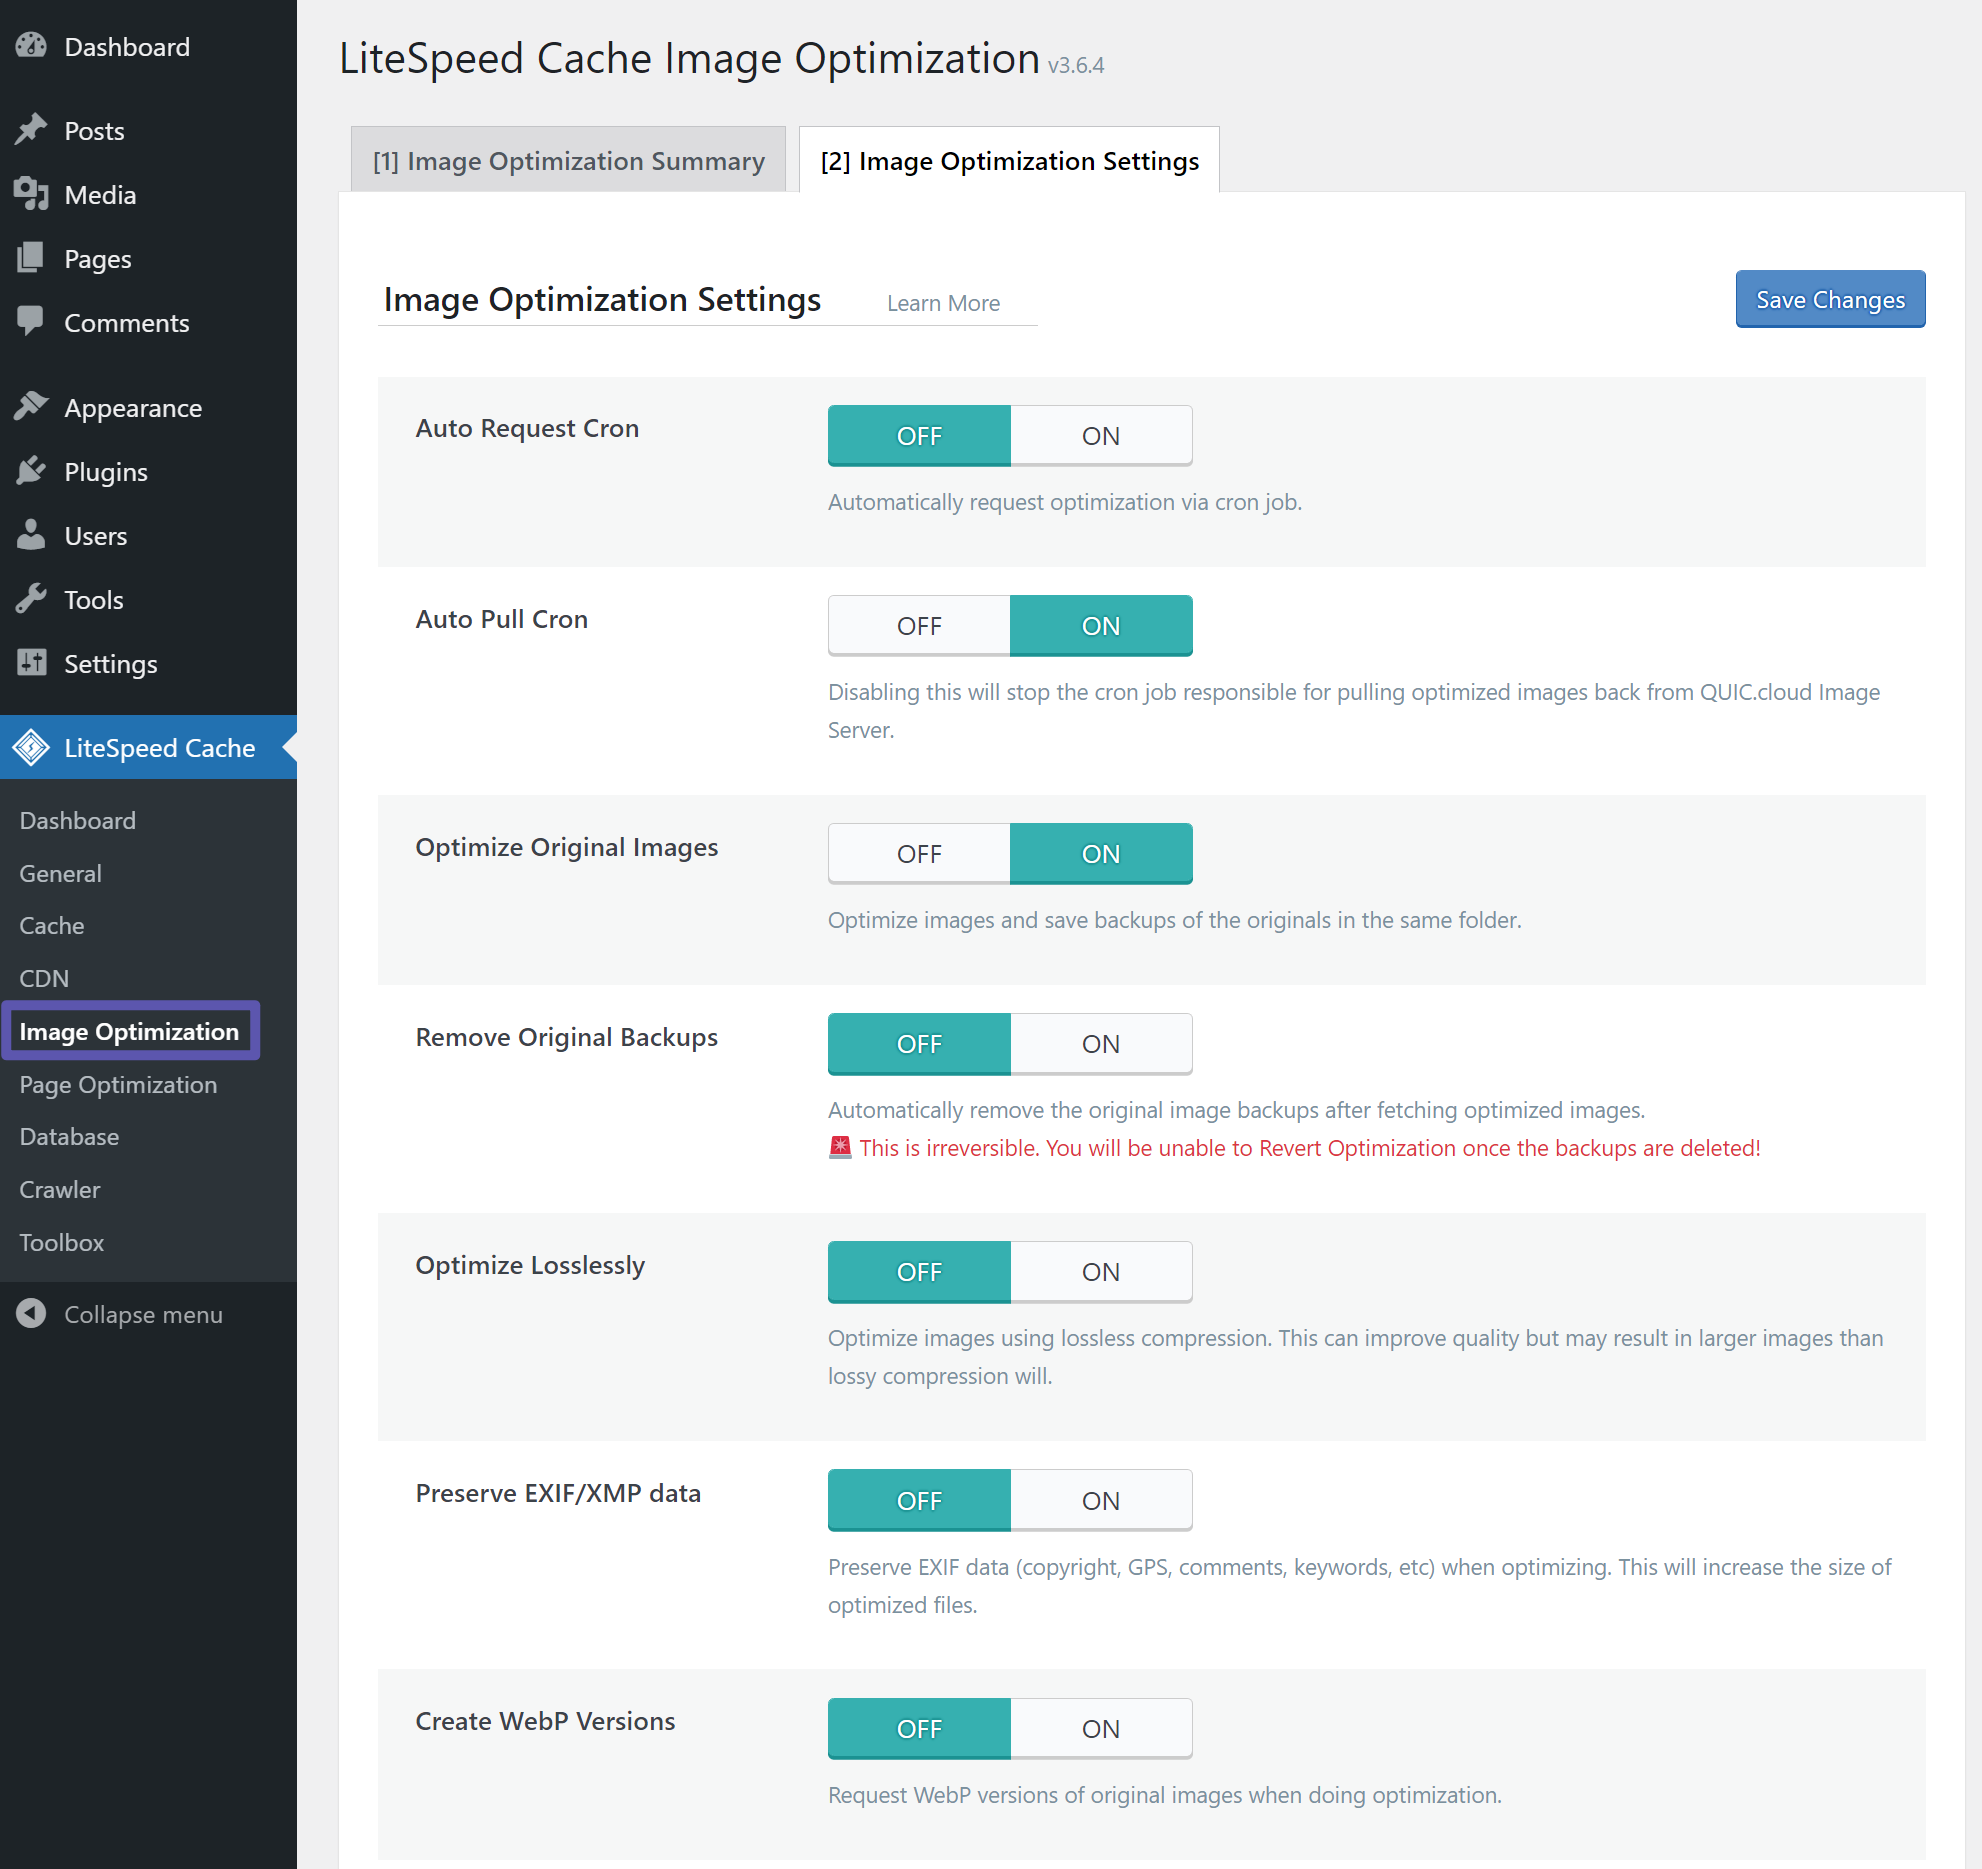
LiteSpeed Cache incorporates its own robust image optimization features, designed to handle compression, resizing, and WebP conversion. This built-in functionality can often negate the need for a separate image optimization plugin, streamlining your performance toolkit. By optimizing images directly through LiteSpeed Cache, you can significantly reduce file sizes without compromising visual quality, leading to faster loading pages and an improved user experience.
Page Optimization Settings
The Page Optimization tab is a powerful section filled with features aimed at enhancing your site's front-end code. A significant portion of these settings focuses on optimizing CSS and JavaScript, crucial elements for visual rendering and interactivity. Additionally, you'll find options to implement lazy loading and other advanced tactics.
Before delving into these settings, it's vital to understand that optimizing front-end code can, in some instances, lead to temporary display issues on your website. For example, enabling a specific CSS optimization feature might cause your site's design to appear unconventional. However, these issues are generally not permanent. If you encounter any visual anomalies after activating these features, simply disabling the problematic option will usually revert your site to its normal appearance immediately. There's no need to panic if something looks amiss – your website can easily be restored to its previous state.
With that important note in mind, let's explore how to configure the LiteSpeed Cache page optimization settings for maximum benefit.
CSS Settings
The CSS Settings tab offers a comprehensive array of options to optimize your website's Cascading Style Sheets (CSS) code. You have considerable flexibility in how you configure these, so experimenting to find the optimal balance for your site is recommended.
At a minimum, you should enable CSS Minify. This process removes unnecessary characters from your CSS files without altering their functionality, resulting in smaller file sizes and faster downloads. While some performance experts advocate for CSS Combine, which merges multiple CSS files into one, this can sometimes introduce compatibility issues and often provides negligible benefits, particularly on modern servers utilizing HTTP/2. Therefore, you can safely choose to leave it off if you prefer.
Another significant decision here involves generating critical CSS. This feature works by extracting the CSS required for the above-the-fold content of your page and loading it inline, allowing the page to render much faster. While critical CSS can slightly increase the initial page size, it often leads to a significantly faster perceived load time for users. This functionality typically requires a connection with a dedicated critical CSS service. You are encouraged to test this feature to observe its impact on your site's performance. However, the automatic generation of critical CSS does not always function flawlessly, so if you prefer a hands-off approach, disabling it might be preferable.
If you do opt to use critical CSS, then enabling the option to Load CSS Asynchronously becomes beneficial. This allows the remaining CSS to load in the background, further improving initial page rendering. Crucially, do not enable asynchronous CSS loading if you are not utilizing critical CSS.
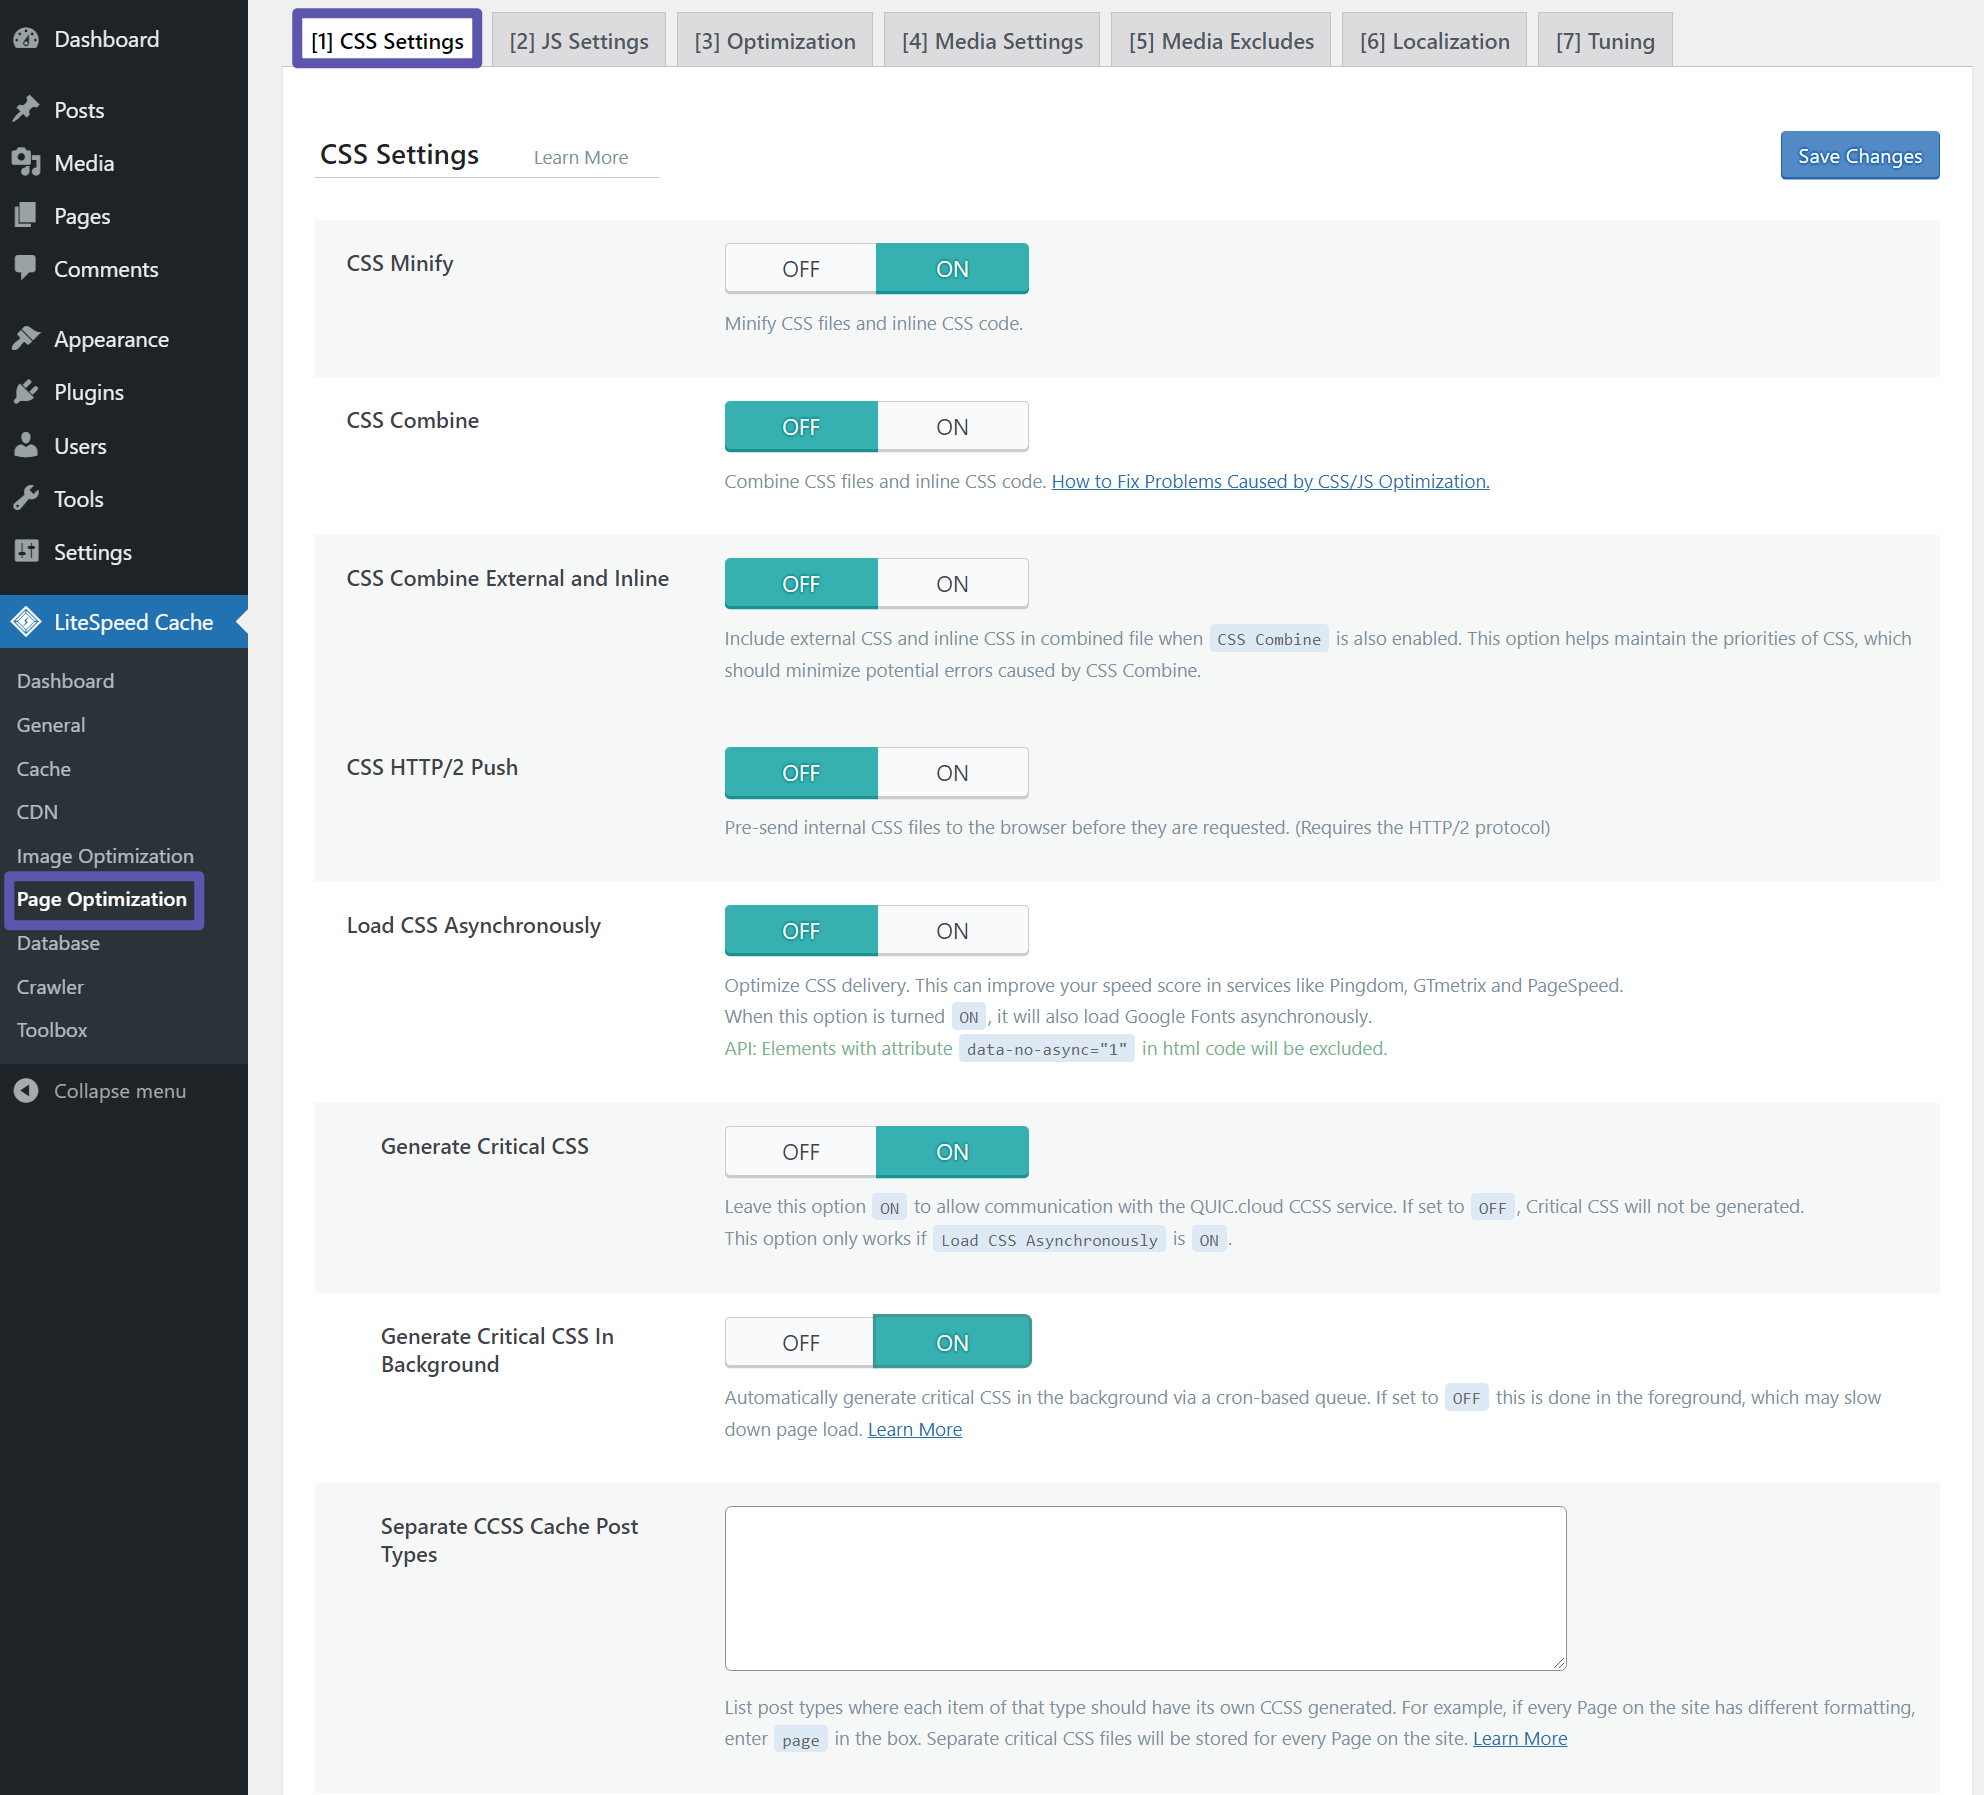
In summary, if you prefer a simple yet effective approach without extensive tinkering, merely enabling CSS Minify will provide a solid performance boost.
JavaScript Settings
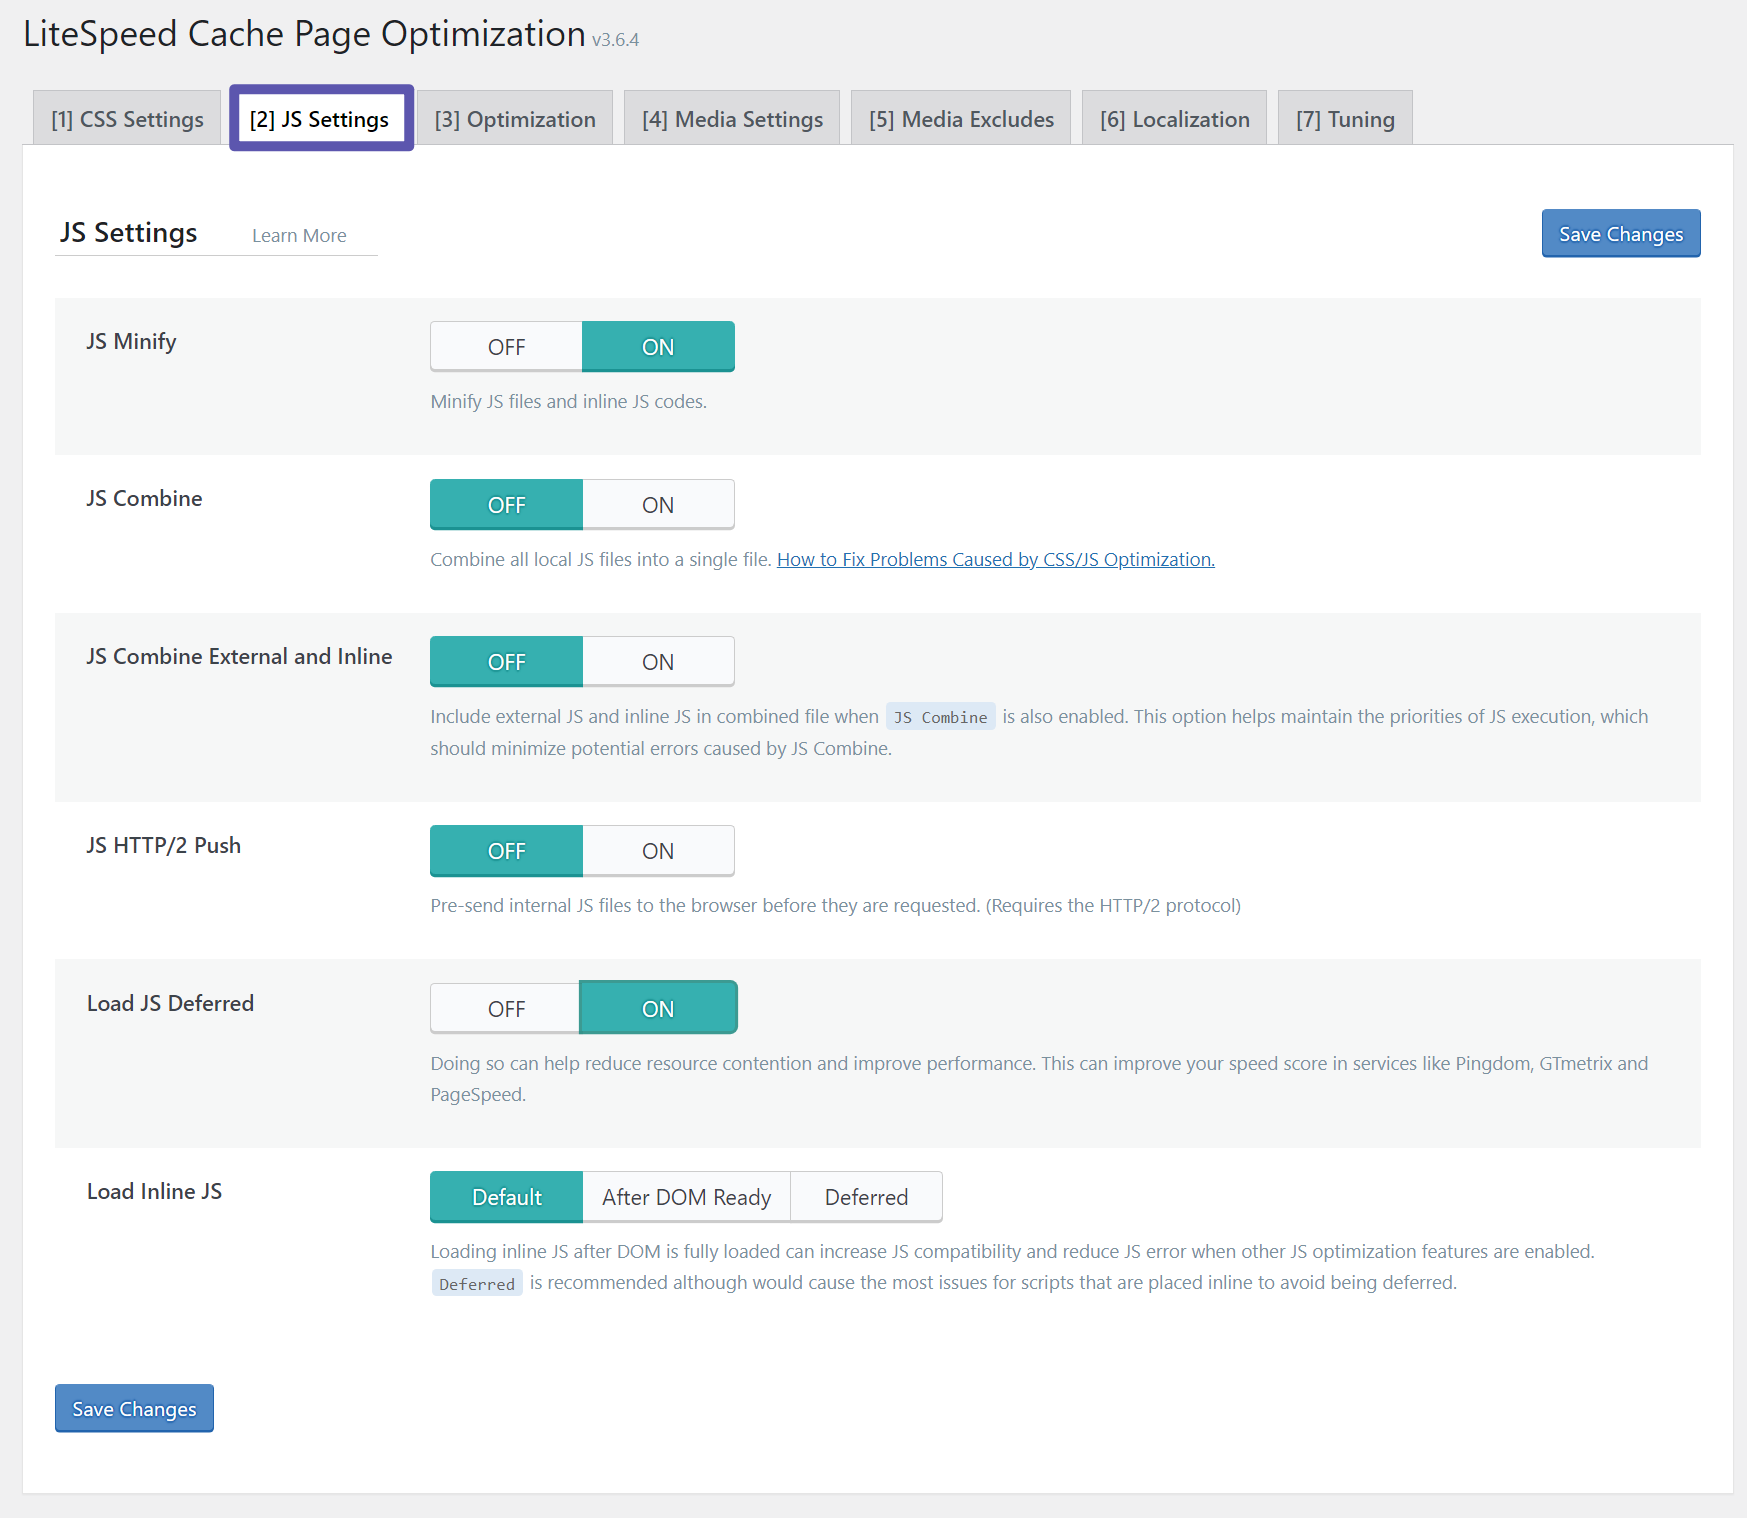
The JS Settings tab mirrors the functionality of the CSS settings tab, but it applies specifically to your website's JavaScript code. Similar to CSS, activating JS Minify is generally recommended. This strips out superfluous characters from your JavaScript files, making them smaller and quicker to download. The remaining features in this section are optional and depend on your specific optimization goals.
To improve your scores on performance analysis tools like PageSpeed Insights, you can enable the option to Load JS Deferred. This defers the loading of JavaScript files until after the main content of your page has loaded, preventing JavaScript from blocking the rendering process. However, deferring JavaScript can occasionally cause issues if certain scripts are essential for your site's initial display or interactivity. Therefore, thorough testing of your website after enabling this feature is paramount to ensure everything functions as expected.
General Optimization
The Optimization tab serves as a repository for various catch-all settings designed to optimize different aspects of your website. Here, you might consider enabling the following options to further enhance performance:
- HTML Minify: Similar to CSS and JavaScript minification, this removes unnecessary whitespace and characters from your HTML code, resulting in smaller page sizes.
- Remove Query Strings: This feature can improve your page speed scores by removing query strings (e.g.,
?ver=1.0) from static resource URLs. While not strictly essential for performance, it often helps with caching and can contribute to better scores in analytical tools. You can choose to enable or disable this based on your preference. - Remove WordPress emoji: Modern web browsers inherently support emojis. Disabling WordPress's default emoji loading mechanism removes an unnecessary HTTP request, contributing to a slightly faster page load.

Media Settings
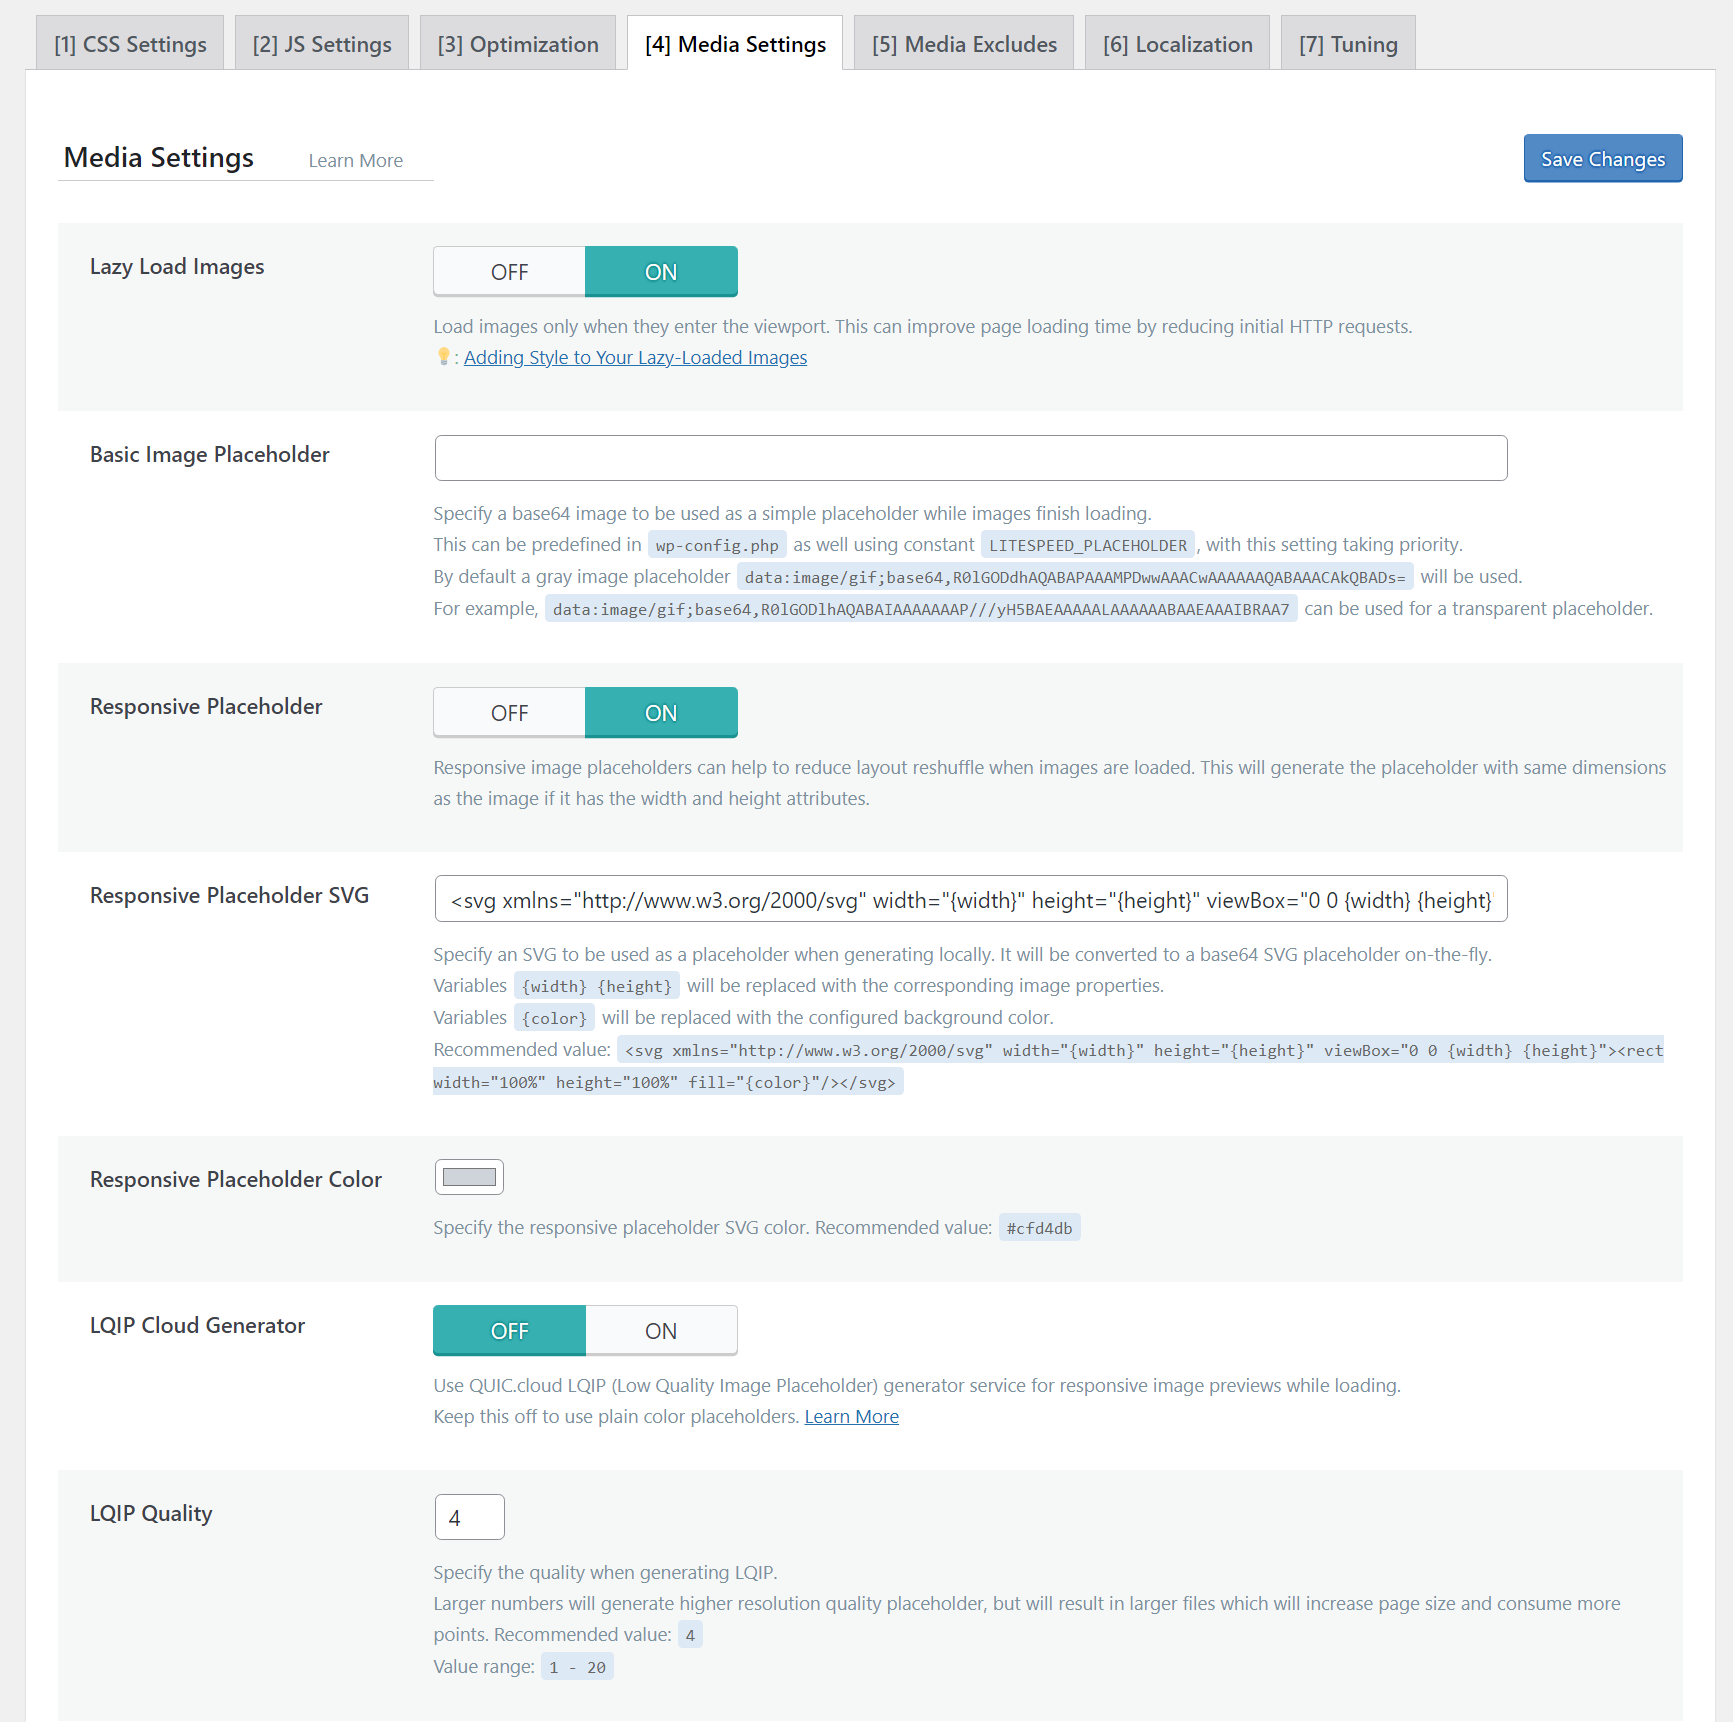
The Media Settings tab allows you to configure lazy loading for images and iframes. Lazy loading is a powerful technique that defers the loading of content that is "below the fold" (not immediately visible on the screen) until a user scrolls down. This significantly speeds up the initial load time of your page, as the browser only has to render the immediately visible content.
Since WordPress 5.5 and 5.7, the platform natively supports browser-level lazy loading for images and iframes in compatible browsers. This means your site likely already benefits from some form of lazy loading. However, it's worth noting that not all browsers (such as Safari, at the time of writing) fully support native lazy loading. By enabling the Lazy Load Images and Lazy Load iFrames options within LiteSpeed Cache, you ensure that lazy loading is applied consistently across all browsers, providing a more uniform performance boost for your entire audience.
If you choose to enable lazy loading, it is often beneficial to specify a Responsive Placeholder. This helps to reserve space for images and iframes before they fully load, which can prevent undesirable layout shifts (CLS - Cumulative Layout Shift), a key metric for user experience and SEO.
Media Excludes
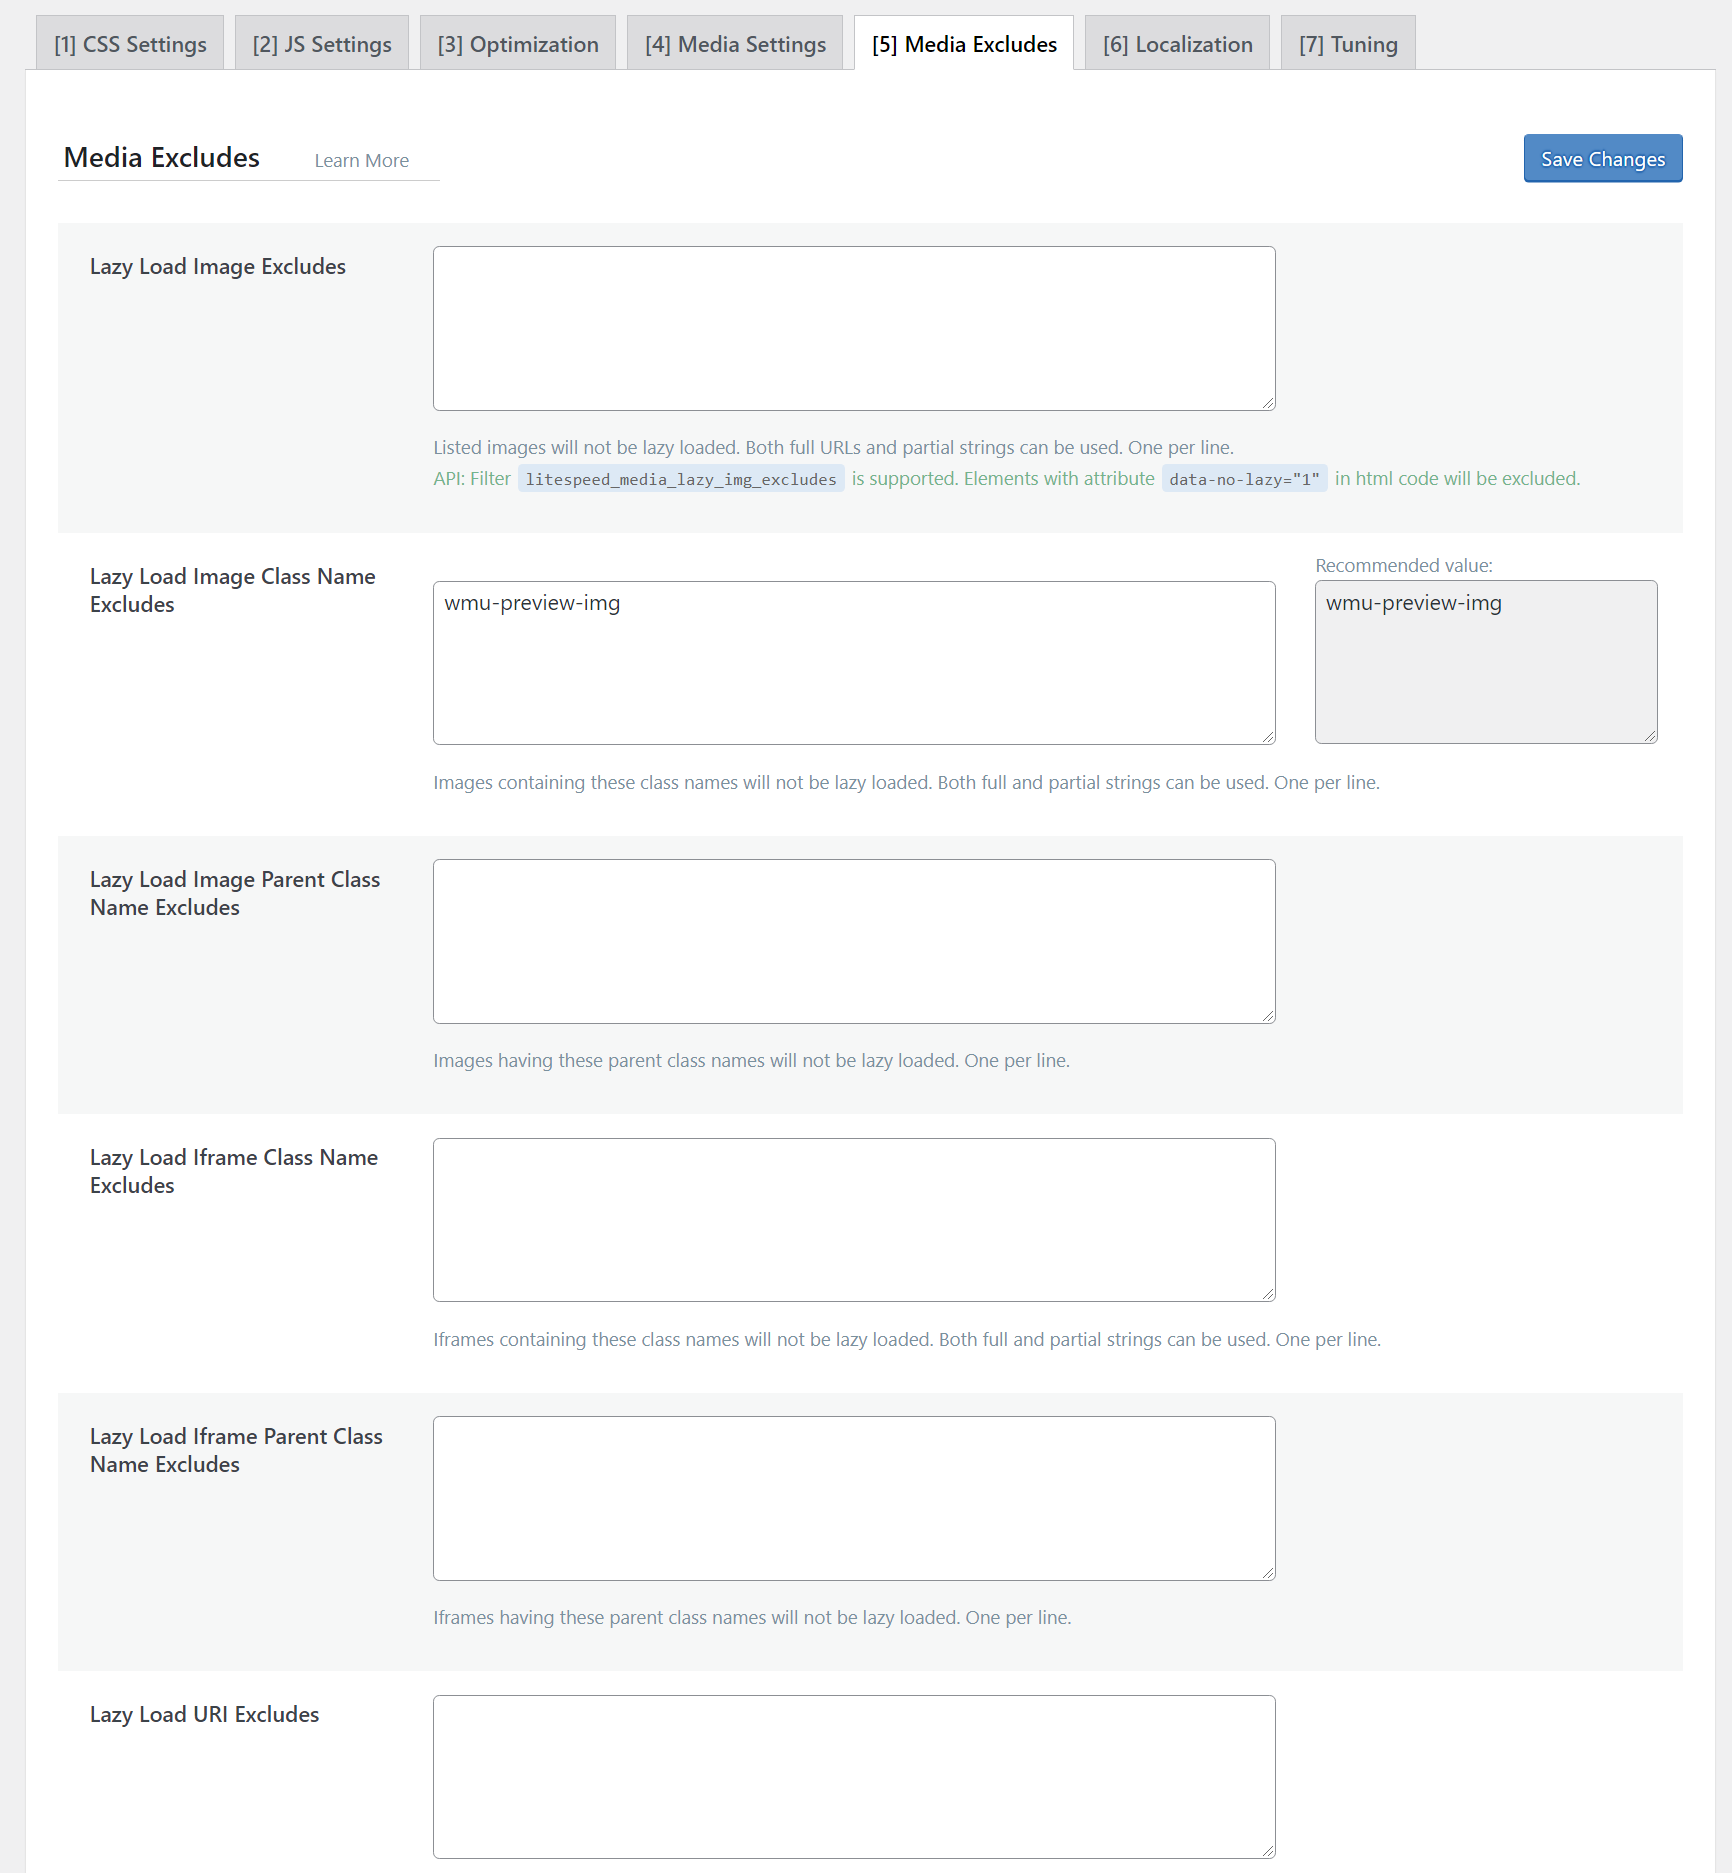
When implementing lazy loading, there might be specific images or iframes that you prefer not to lazy load, perhaps due to their critical nature in the initial viewport or specific functionality. The Media Excludes tab provides the ability to manually exclude such elements from the lazy loading process. This feature is entirely optional and only necessary if you encounter issues or have specific requirements for certain media files.
Localization Settings
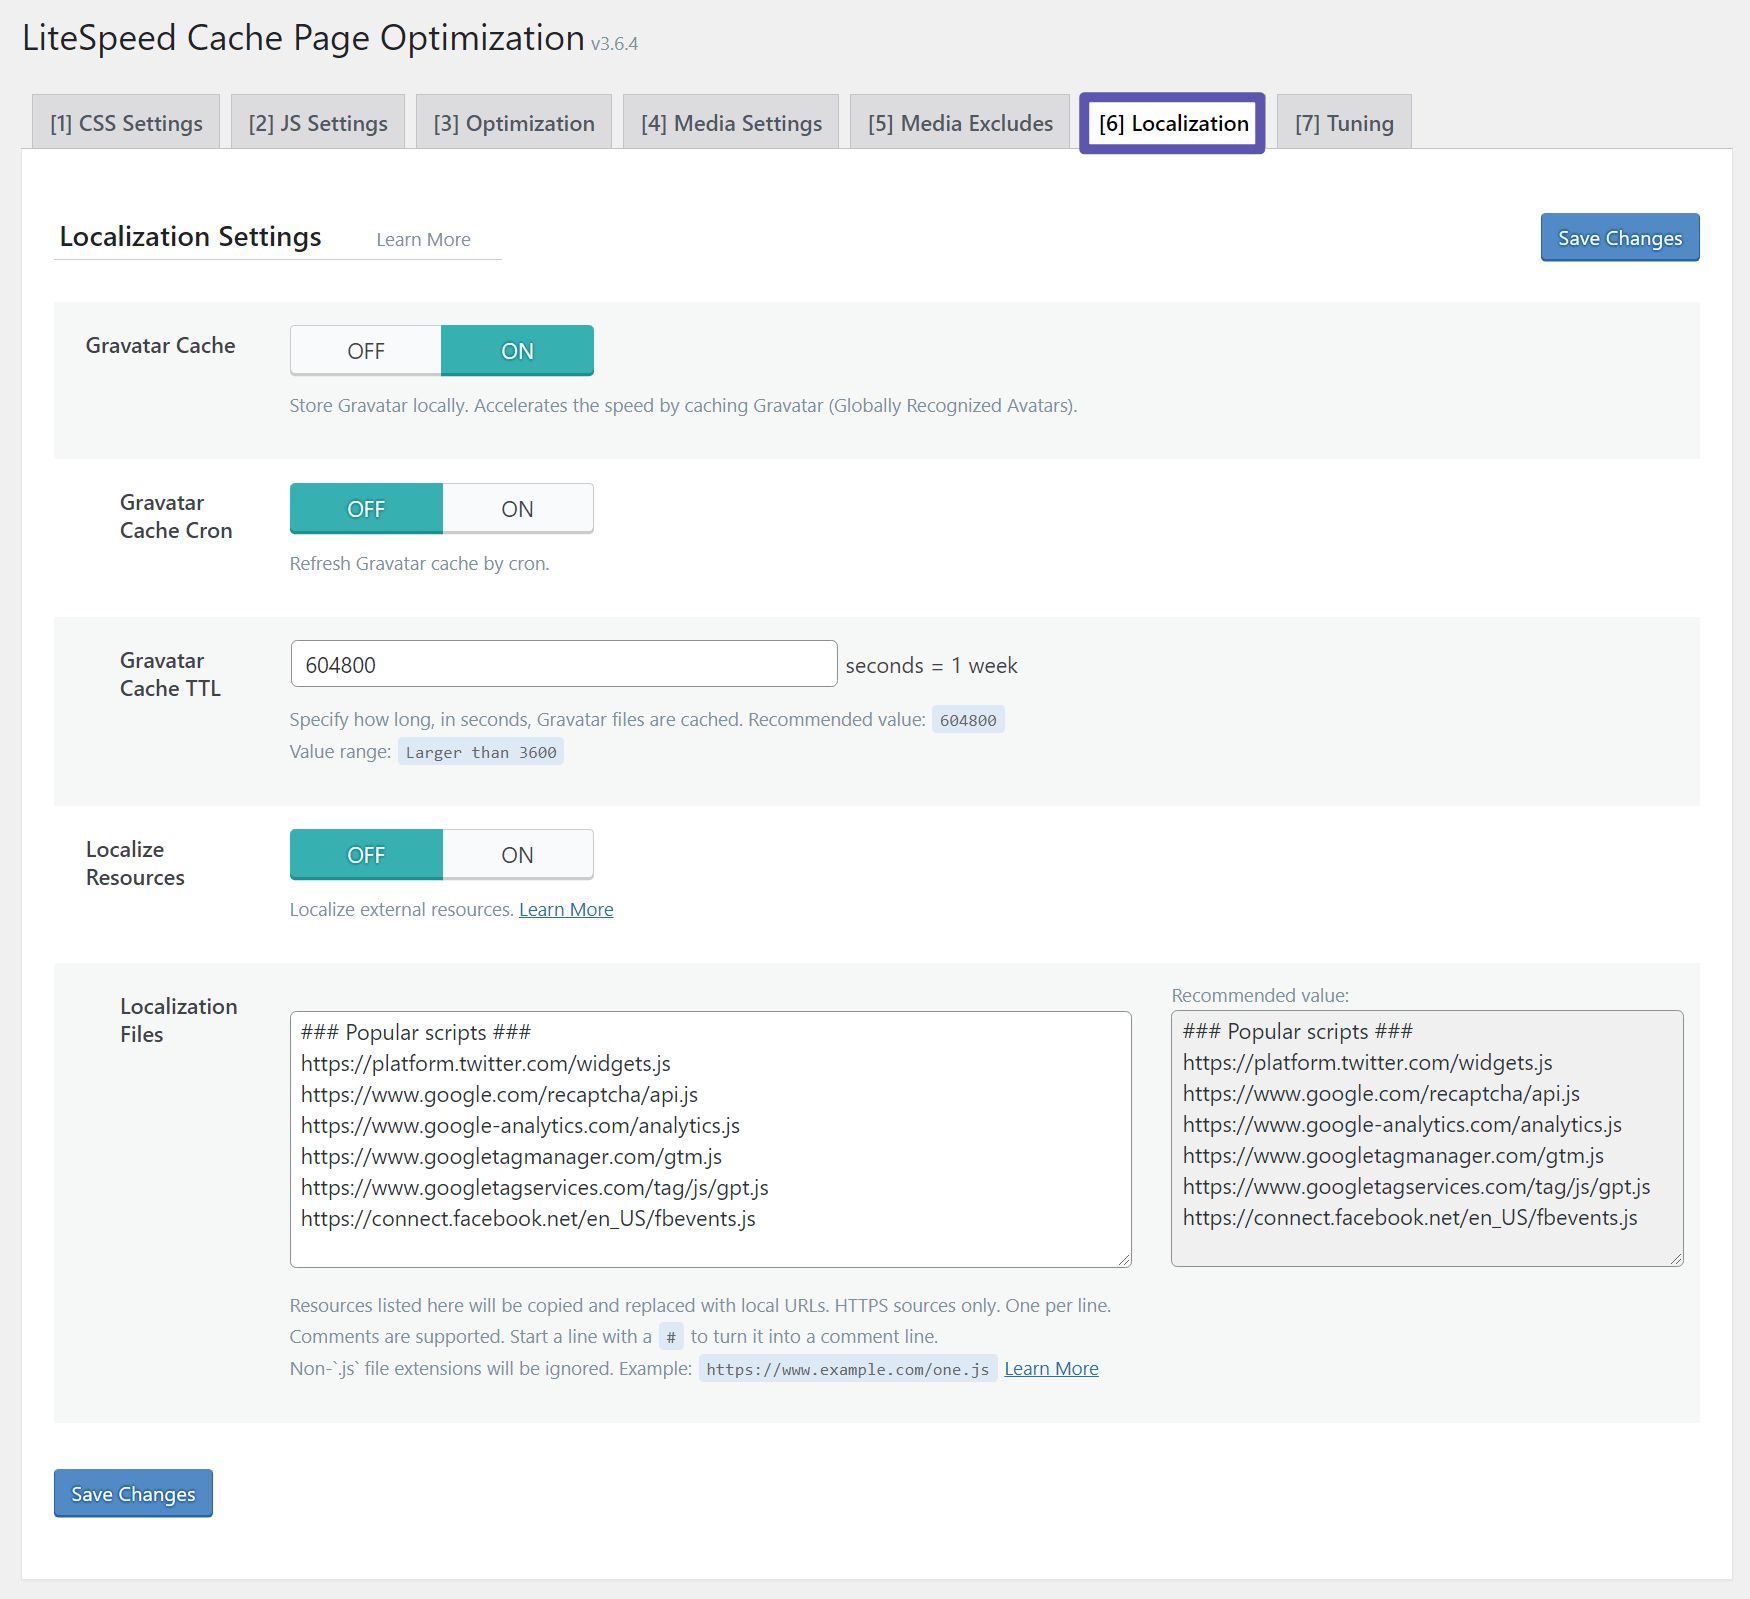
By default, WordPress integrates with the Gravatar service to display user avatars in comment sections. If your website attracts a significant volume of comments, enabling the Gravatar Cache within the Localization tab can be highly advantageous. This setting instructs your site to store those avatar images locally, thereby eliminating the need for repeated third-party HTTP requests to the Gravatar service for each visitor. This small optimization can collectively contribute to faster page loads, especially on comment-rich pages. Otherwise, leaving these settings at their defaults is perfectly acceptable.
Tuning
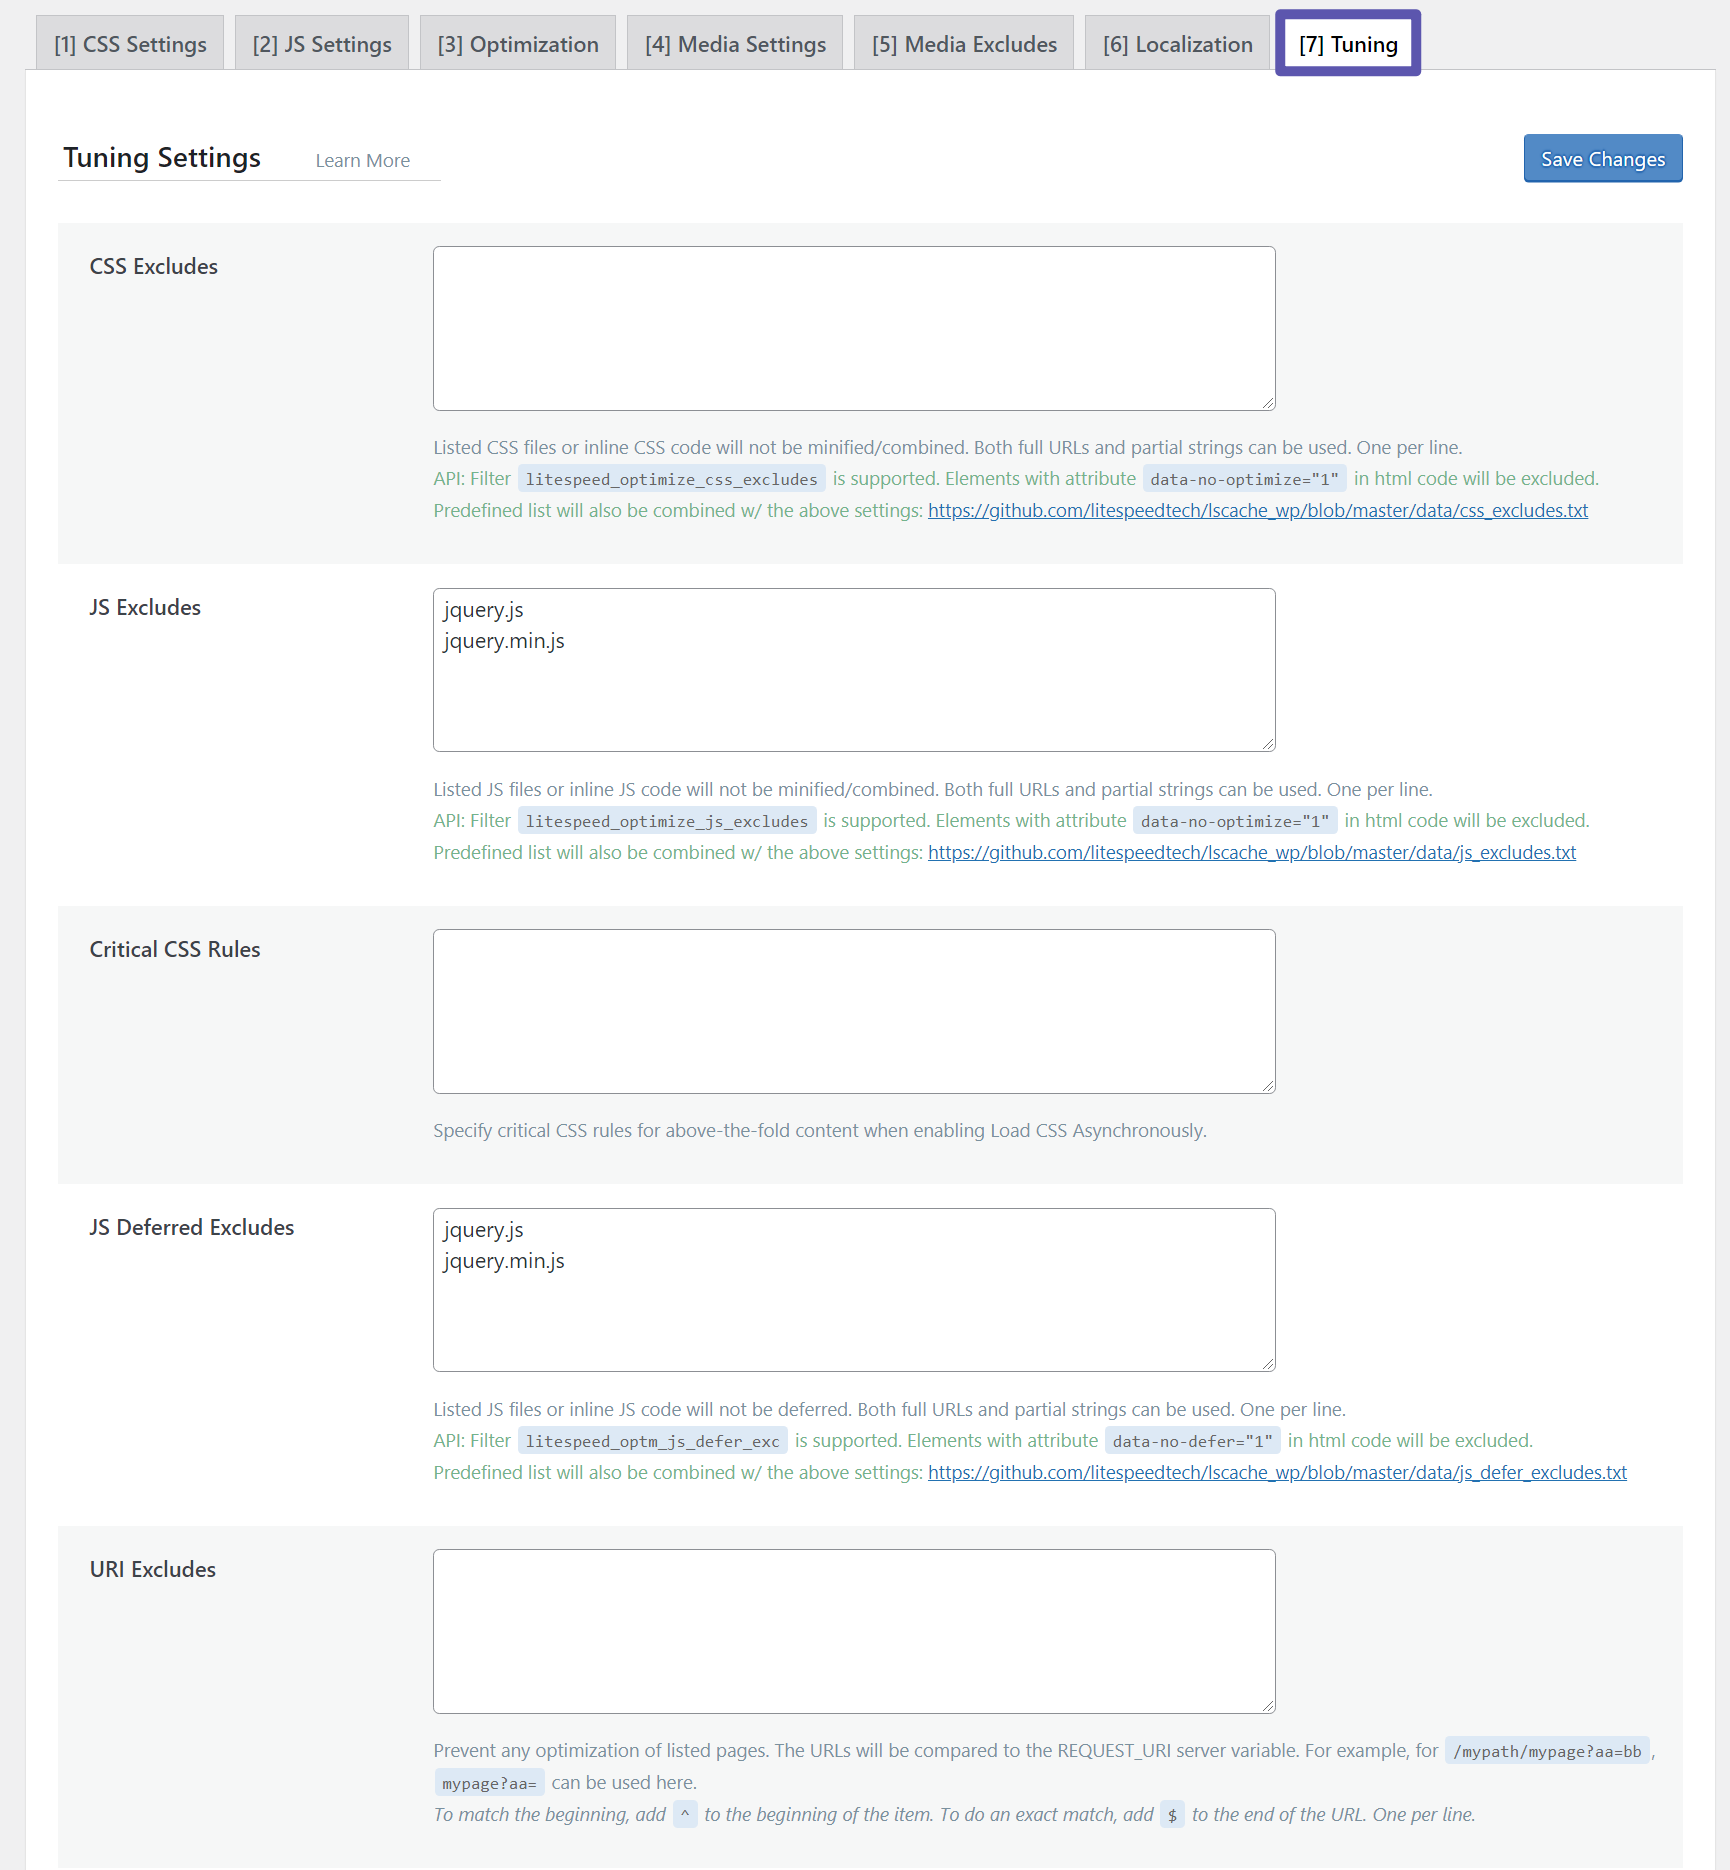
The Tuning tab offers a precise mechanism to manually exclude specific CSS or JavaScript files from the optimization processes configured in the CSS Settings and JavaScript Settings tabs, respectively. This feature is particularly useful for debugging purposes. If you encounter any unexpected visual glitches or functionality breakdowns after enabling certain optimizations, you can use this tab to identify and exclude the problematic files. If your website is functioning flawlessly post-optimization, there is no need to make any changes here.
Database Optimization
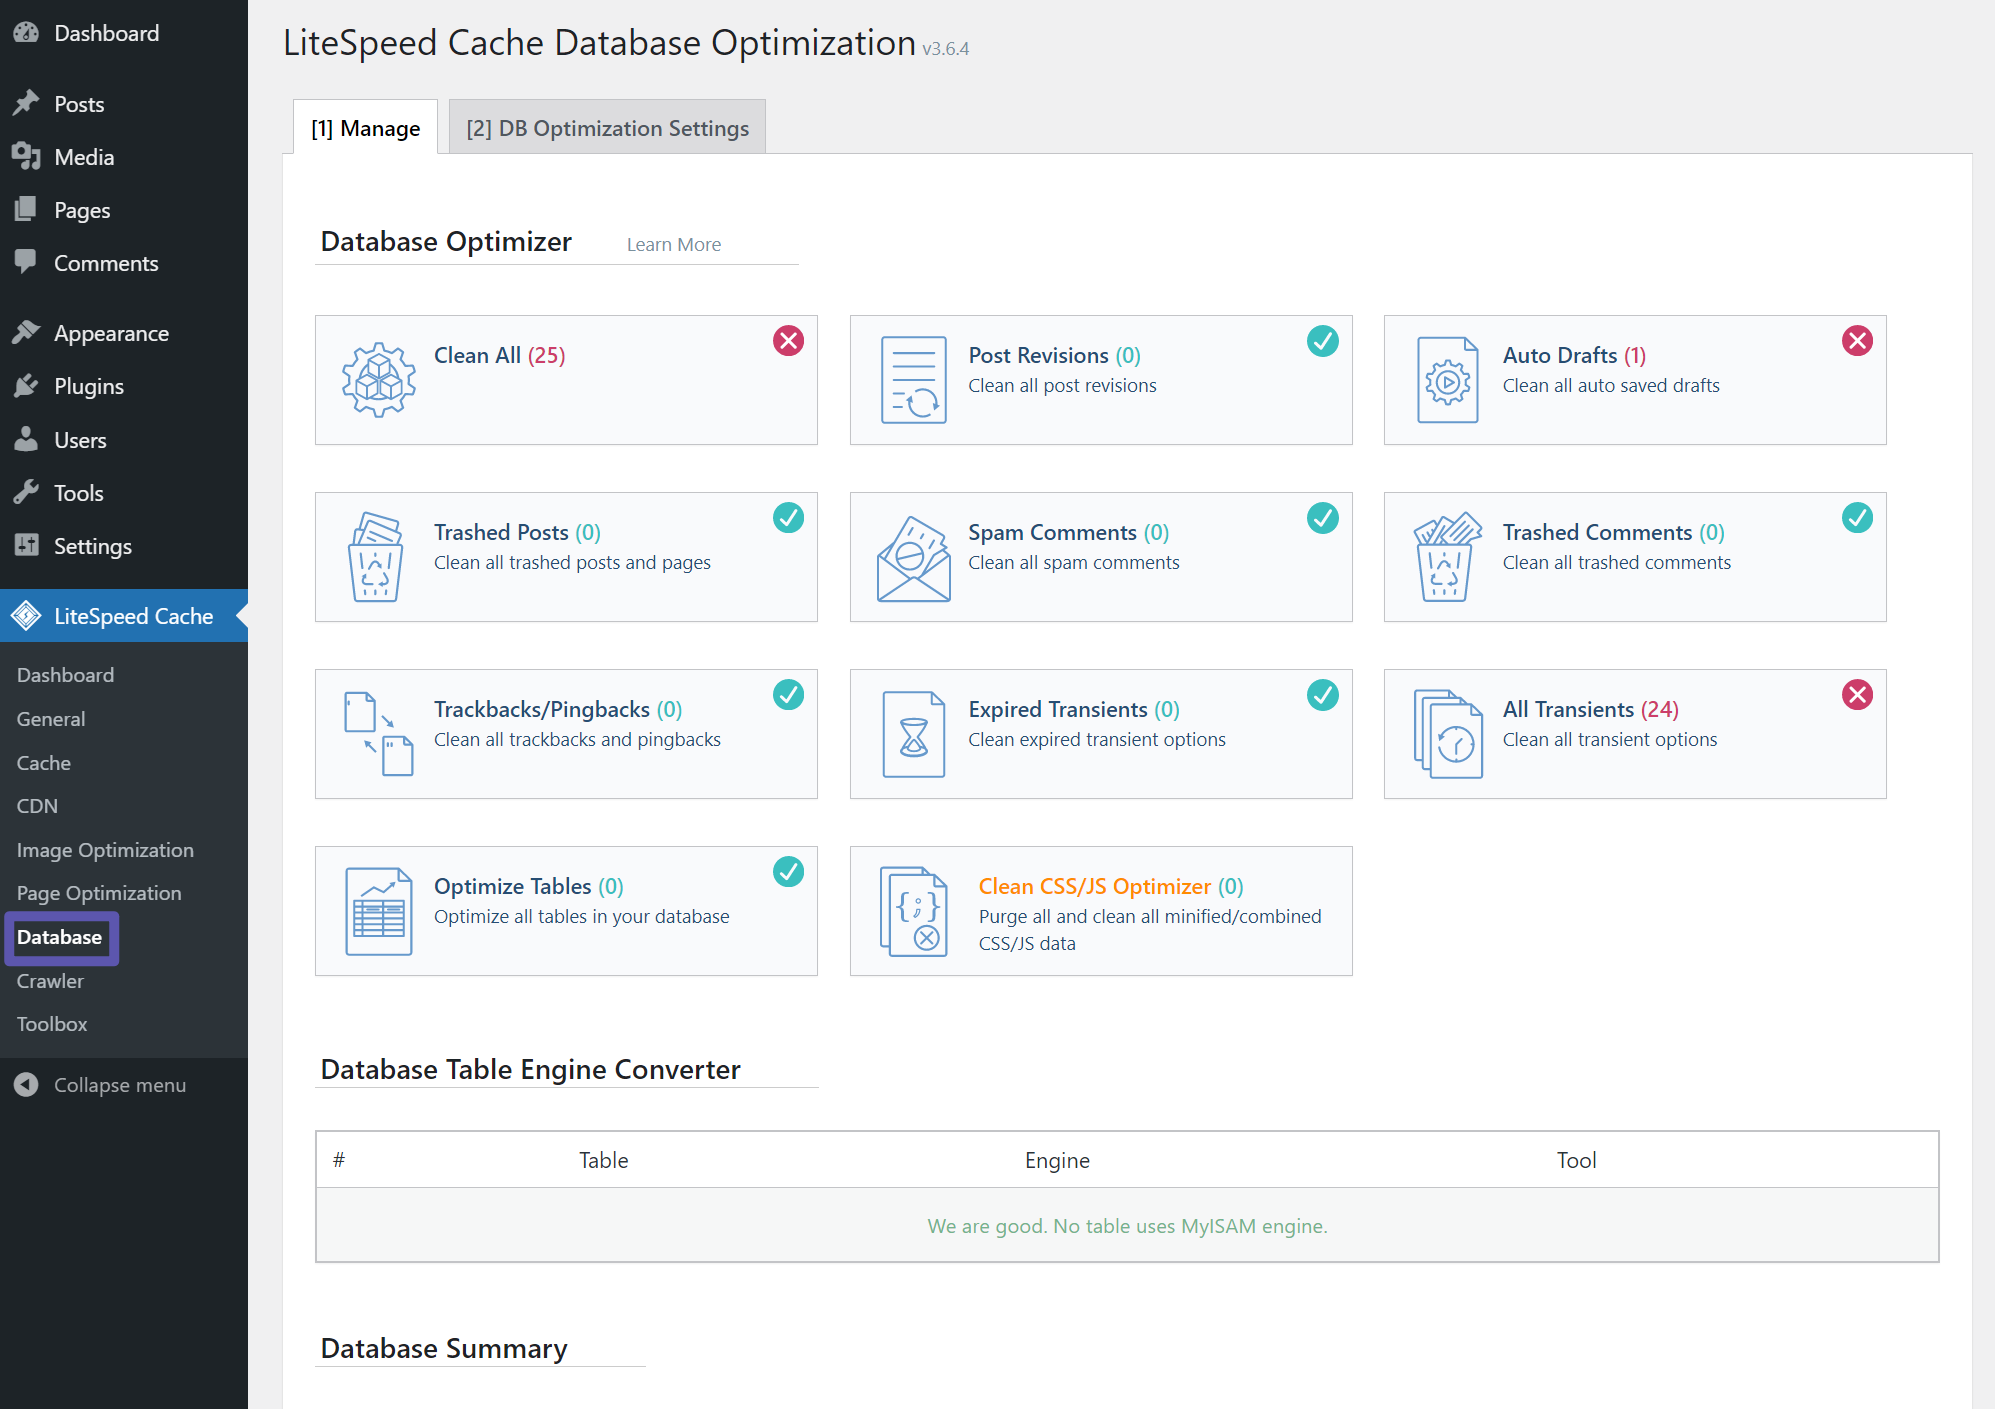
The Database tab is designed to help you efficiently clean and optimize your WordPress site's database, removing accumulated "gunk" that can slow down your site over time. It is generally safe to clean all the options presented here, which include post revisions, spam comments, and expired transients. However, before proceeding with the deletion of auto-drafts, it is always wise to double-check them to ensure you don't inadvertently remove any drafts you might still need. If you prefer to retain a specific number of post revisions (e.g., to revert to previous versions of content), you can configure this preference within the DB Optimization Settings tab, providing a balance between cleanliness and content recovery.
Crawler Settings
The Crawler area provides options to configure cache preloading behavior. Typically, a page is loaded into the cache only when a visitor accesses it. With cache preloading, LiteSpeed Cache can "crawl" your website proactively, generating cached versions of pages before they are explicitly requested. This ensures that even the very first visitor to any page will be served fast, cached content. However, it's crucial to understand that this crawler can consume a significant amount of server resources. Therefore, unless you possess a clear understanding of its implications and have carefully assessed your server's capacity, it is generally recommended to leave these settings at their defaults, which means the crawler will be disabled.
Toolbox Functions
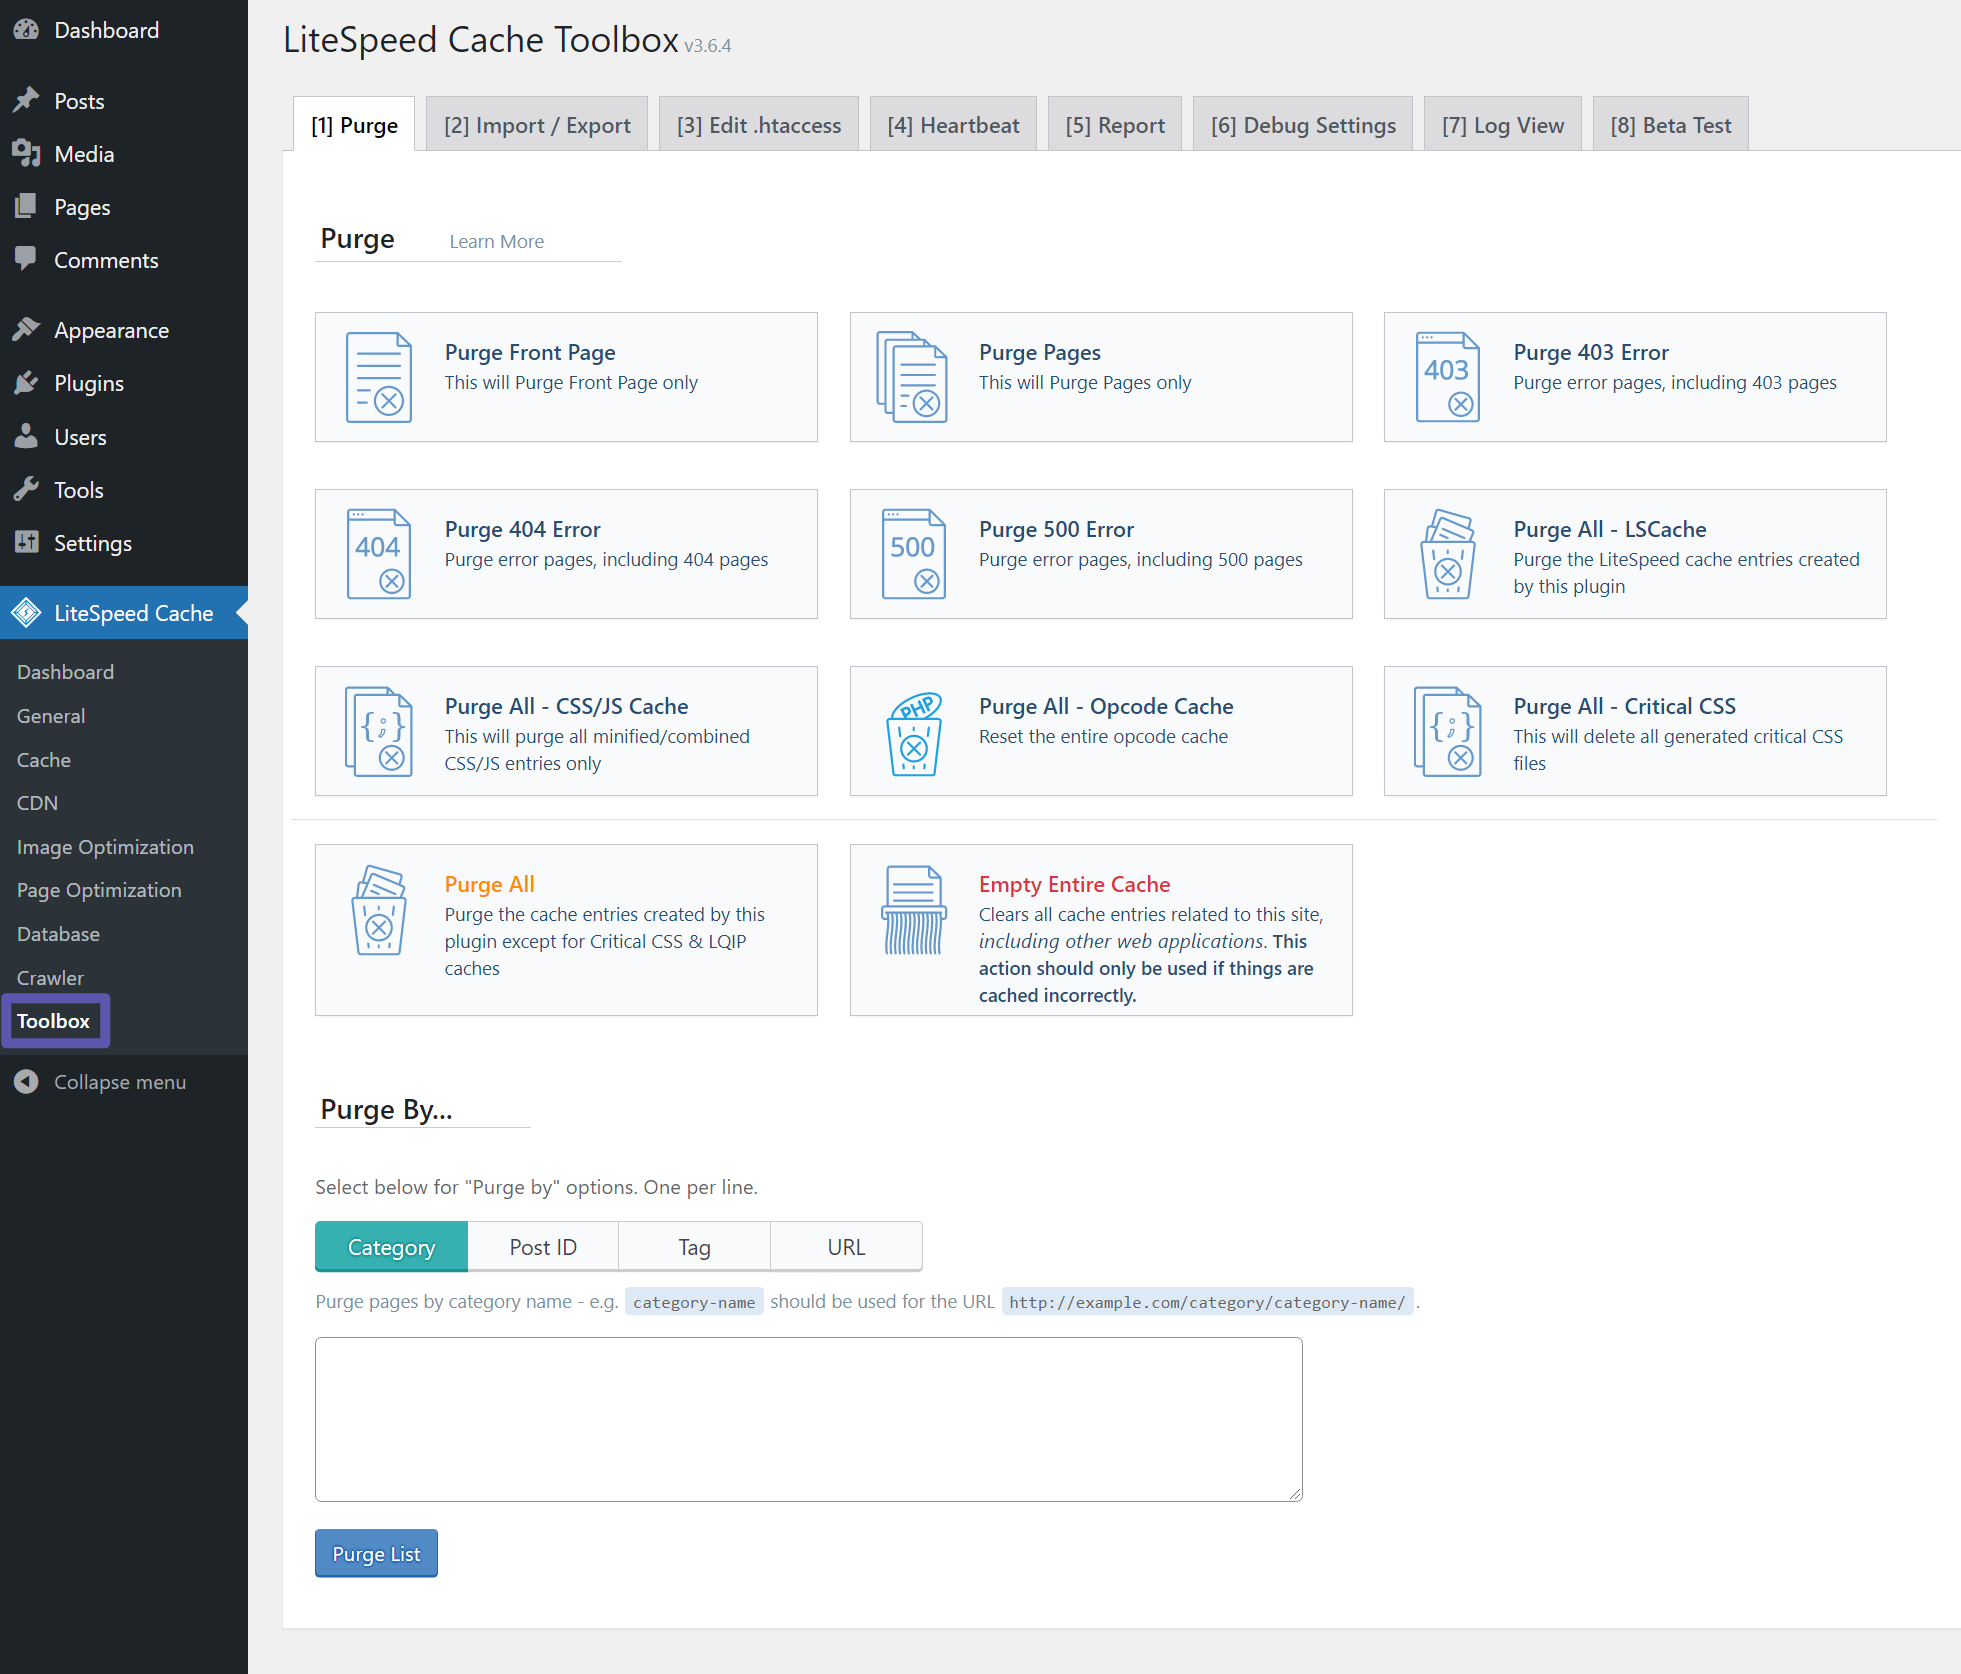
The Toolbox area contains several utility options, with one particularly helpful feature being the ability to purge various types or all of your website's cache.
Purge Cache
If you ever encounter unexpected issues on your website, such as recently made changes not appearing, or something displaying incorrectly, the first troubleshooting step we consistently recommend is to purge your cache. Purging the cache effectively "resets" your site's cached content, often resolving a wide array of display and functionality problems by forcing a fresh load of all assets. LiteSpeed Cache provides convenient options to purge specific parts of the cache or the entire cache, making it an indispensable tool for site maintenance.
While this section offers several other tabs, most can typically be ignored by the average user.
Heartbeat Control
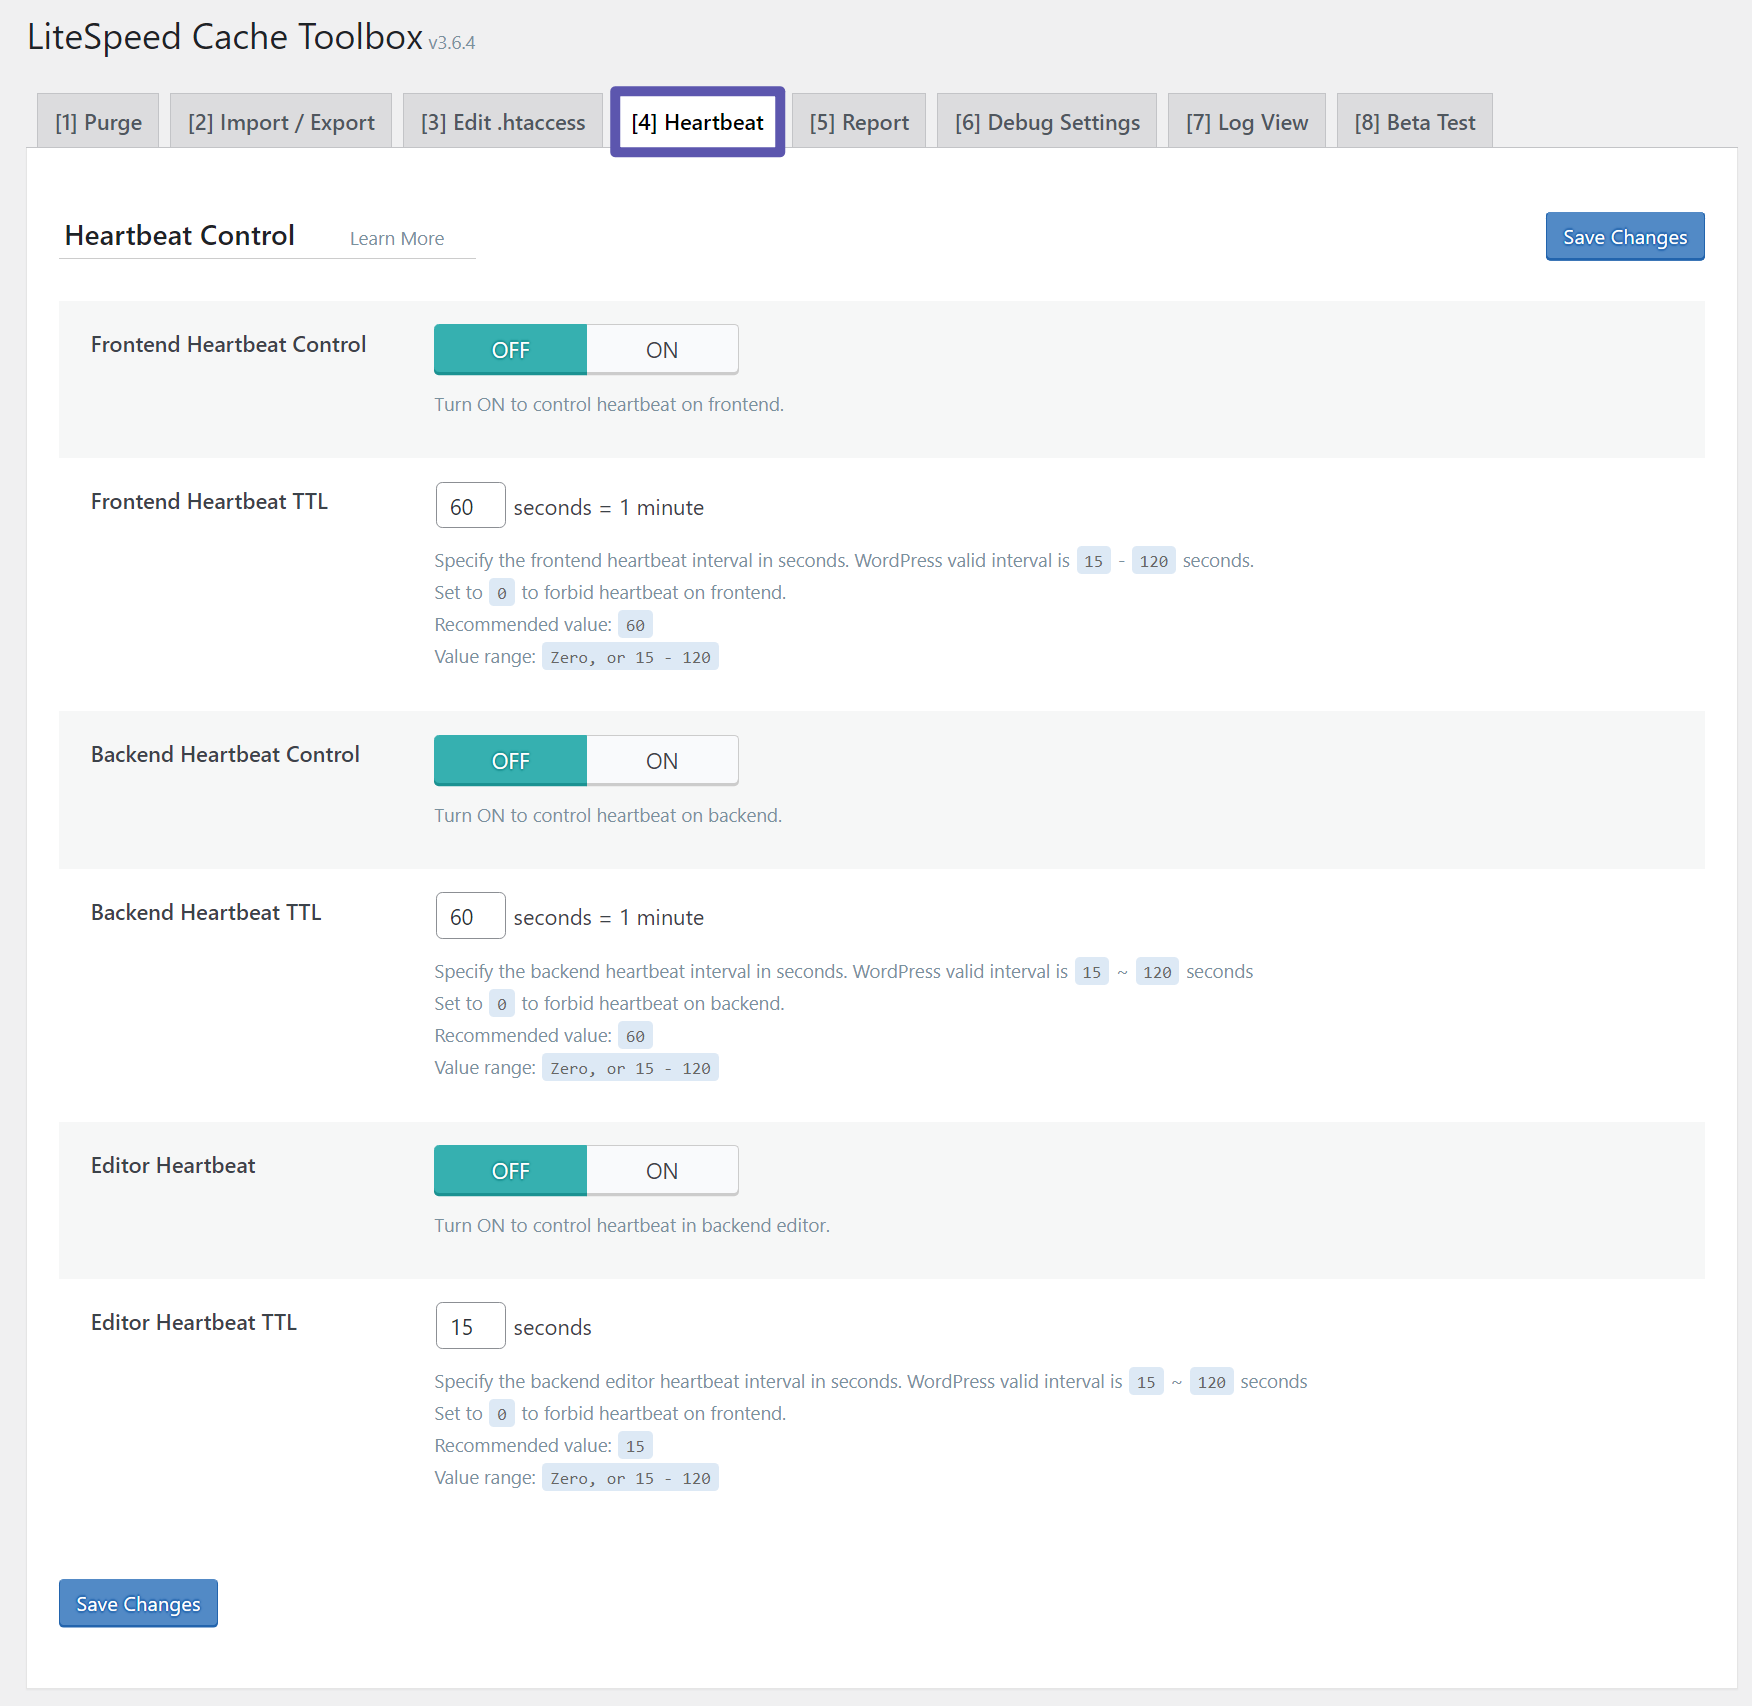
One notable tab within the Toolbox is Heartbeat, which allows you to manage the WordPress Heartbeat API. The Heartbeat API facilitates real-time communication between your browser and your server, enabling automatic actions such as auto-saves in the WordPress editor and real-time plugin notifications. While beneficial, this API also consumes server resources. For some users, limiting its frequency or disabling it in certain contexts can help conserve server resources, which you can configure from this tab.
By diligently applying these configuration strategies, you should now be experiencing noticeably faster load times and an overall more responsive WordPress website, all thanks to the powerful capabilities of LiteSpeed Cache.
The LiteSpeed Cache plugin stands as a robust and comprehensive solution for enhancing every facet of your WordPress site's performance, regardless of your web server environment. When paired with a LiteSpeed Web Server, you unlock the plugin's full potential, benefiting from its exceptionally fast, server-level page caching features. This combination delivers unparalleled speed and efficiency, providing an optimal experience for your website visitors. Even without a LiteSpeed Web Server, the plugin still offers a wealth of optimization features that can dramatically improve your site's speed and responsiveness. Implementing these settings can lead to a significant boost in user satisfaction, better search engine rankings, and a more efficient web presence.
Investing time in configuring LiteSpeed Cache is an investment in your website's future, ensuring it remains fast, reliable, and highly performant for years to come.
